On a recent trip to New York, I had the delightful opportunity to visit Dominique Ansel’s bakery. Ansel, who created the Cronut (a croissant-doughnut hybrid), is one of the world’s most acclaimed pastry chefs. The French-trained Ansel holds numerous awards, including a James Beard Award for Outstanding Pastry Chef. In 2017, he was named the World’s Best Pastry Chef by the World’s 50 Best Restaurants awards. The Daily Mail calls him “the most fêted pastry chef in the world.” Clearly, Ansel knows pastry.
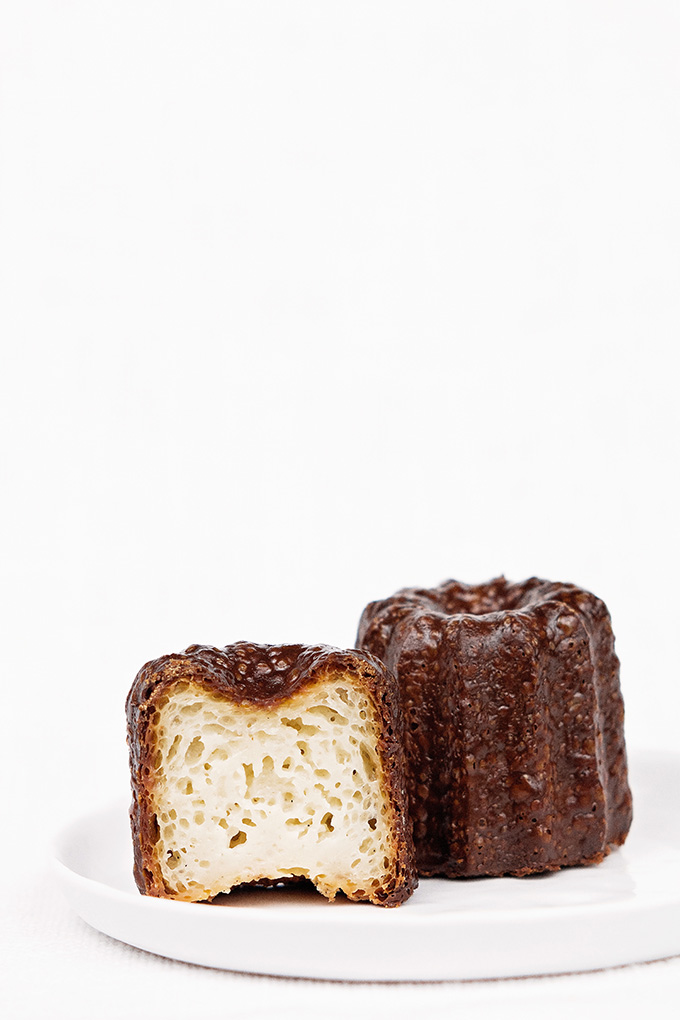
While the Cronut brought him fame in 2013 (TIME magazine even named the Cronut one of the “25 best inventions of 2013”), the employees I spoke to at Ansel’s eponymous pâtisserie were not particularly enthusiastic about the treat. “We get lines around the block, before we open, to this day,” one staff member sighed, “but really I find them a bit too sweet for my liking.” Instead, I was pointed toward Ansel’s unassuming canelés. There, sitting between the cookies in a small glass display, beckoned the most complicated pastry made in France.
Canelés (or, sometimes, cannelés) [can-eh-LAYs] are like a crème brûlée in pastry form. Outside, a thin, honey-flavoured, and surprisingly crunchy shell. Inside, a custardy center with notes of dark rum and Tahitian vanilla.
Born in Bordeaux, France in the 1700s as the “cannelé de Bordeaux”, the delicate pastry came back into fashion during the 1980s. As bastardized chocolate and orange iterations spread around the world, a coterie of Bordelaise bakers decided to distinguish their “true” version from those of imposters by dropping the unnecessary “n” in the pastry’s name. Henceforth, true can(n)elés became “canelés” while all others became burdened with the label “cannelé”.
What fuels the argument that canelés are France’s, and perhaps even the world’s, most complicated pastry? First, the ingredients. To make a perfect canelé, one must procure food-grade beeswax. While honey, and even honeycomb, are relatively easy to find in large cities, food-grade (non-cosmetic) beeswax can prove difficult. Second, the tools. A canelé must be baked in copper, tin-lined moulds for optimal results. Not only are these hard to find, but they can also be quite expensive. Home bakers are often pointed to a silicone alternative, which is prone to yield rather unsatisfactory results. Finally, the technique itself requires precision and care. In a humourous section of his cookbook called “the canelé test”, Ansel lists ways to “cheat” while making a canelé. Each shortcut apparently leads to failure. In all, chasing the perfect canelé is believed to be a masochistic endeavour akin to a quest to refine one’s macarons, croissants, or éclairs.
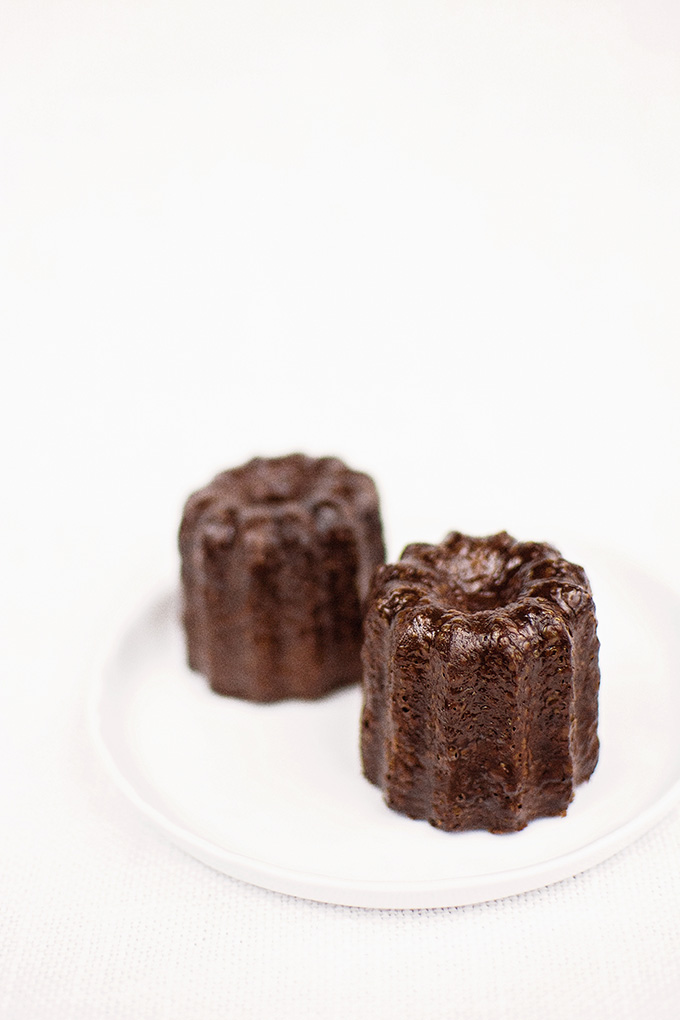
Canelés are so unlike any other pastry I have eaten. The contrast between crunchy, mahogany crust and smooth, custardy center is unexpected. My first canelé, Ansel’s version, was magical. (Not surprising, of course, given that Serious Eats once rated Ansel’s canelés one of the best in New York.) I decided, with my first bite, that I would give this legendary pastry a try and seek to make one as good as Ansel’s. Little did I know, later that day, I would have an even better canelé at Eric Ripert’s three-Michelin starred Le Bernardin. The recipe that follows, an amalgamation of work done by Pierre Hermé and Paula Wolfert, makes canelés just as good.
Copper Moulds, Not Silicone
The best canelés are baked in copper, tin-lined moulds. The heat conducting properties of copper and tin are key. The metals best caramelize the sugars in the batter and yield a smooth and shiny mahogany crust like no other mould can. Unfortunately, given how niche of a product canelé moulds are, manufacturers charge exorbitant prices for them. On Amazon, these palm-sized moulds sell for up to $35 USD a piece. Such pricing is hilariously high.
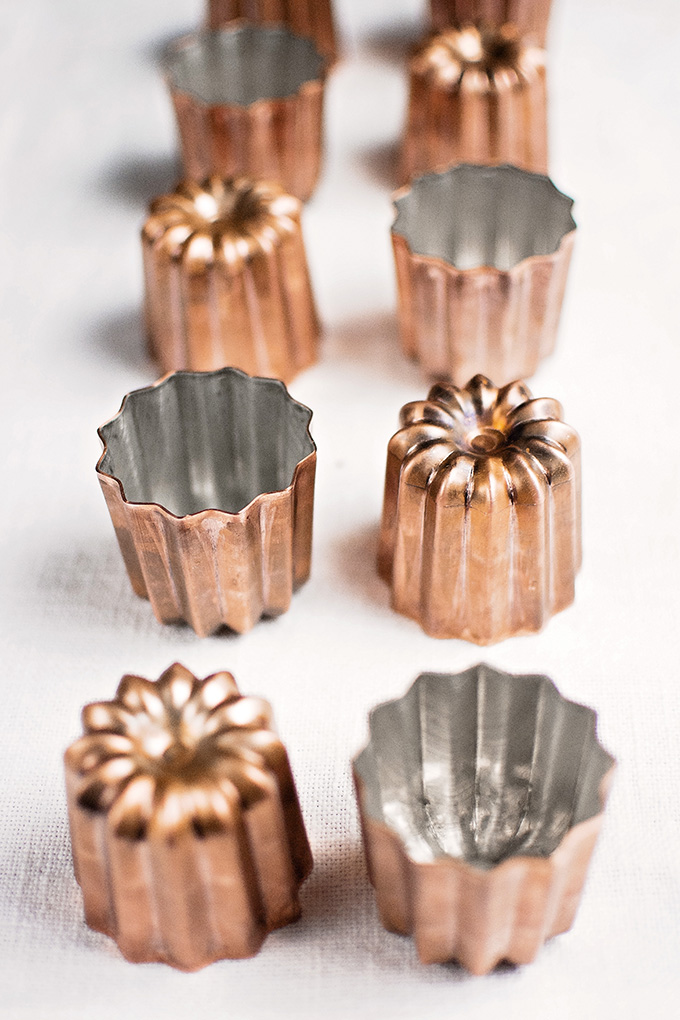
The most common solution to this problem is silicone moulds. These, priced around 98% less, do not produce great canelés. A perfect canelé needs to be uniformly dark, almost but not quite burnt. Pierre Hermé notes, “When it’s black, it’s cooked. I sometimes see bakers cook them only to golden, and that’s no good. A canelé has to be black.” With silicone, canelés are prone to discolouration. Canelés baked in silicone will end up with lighter spots or, worse yet, totally pale. A Google search for “canelés” presents mostly disappointing results: grossly underbaked. Totally tan. Made in silicone. Only a couple of properly made canelés are pictured.
Sure, you can bake in silicone until everything is uniformly coloured. By then, however, your canelé is truly carbonized-black. Certainly not Pierre Hermé’s “black”.
Silicone moulds present additional problems too. According to Molly Wizenberg, Franz Gilbertson of Honoré Artisan Bakery in Seattle says that silicone moulds are “so slippery that canelés tend to ‘jump up out of them’ during baking.” In his cookbook, Ansel writes, “If you try … a nonstick silicone mould, you will lose that crunchy, caramelized exterior, and instead the result will be spongy and soft. Don’t do it—stay the course.” If you want a good canelé, the consensus is that you need copper.
Luckily, with determination, one can find standard (55mm, 2” in diameter) canelé moulds for far less than $35 USD each. Searching eBay for used ones works well. I ended up buying mine online, and new, from Labo&Gato, a bakeware store in Bordeaux for about $7.50 USD each. The more you buy, the lower the price. They also sell smaller sizes for less. My plan is to bake canelés a few times and then sell half of the moulds online. I am also considering keeping them and baking mini-entremet cakes/pastries in them. They would also make for some good lava cake moulds.
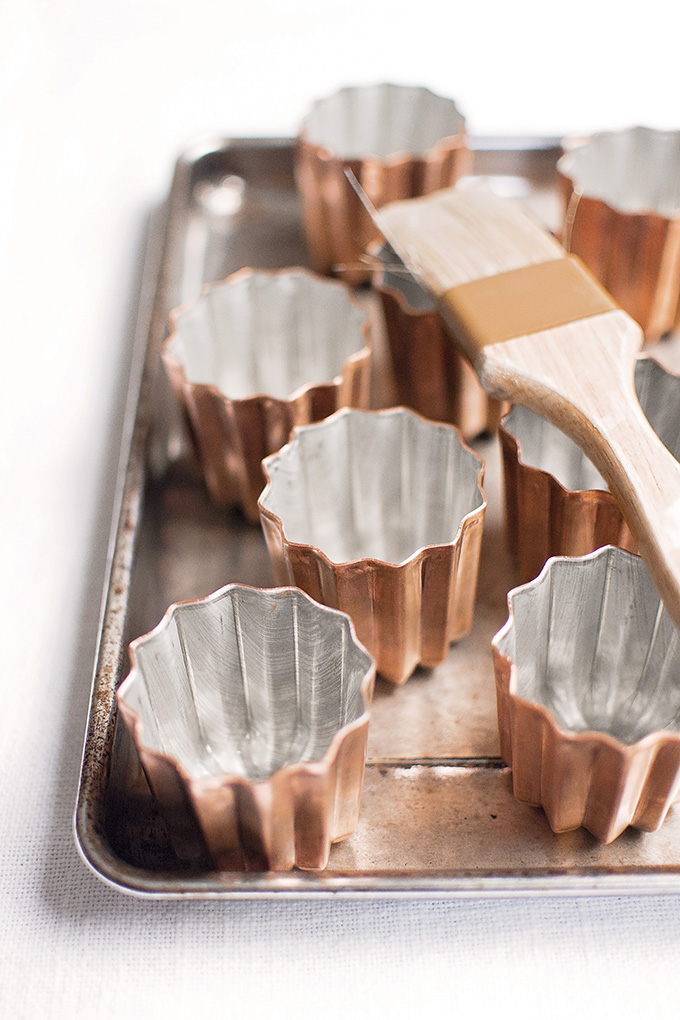
Once you get your hands on some copper canelés moulds, you’ll need to prepare them for use (like you would a cast iron pan). This part is easy. Wash with warm, soapy water and dry with a clean cloth. Then, with a brush, apply vegetable oil to the insides and bake for twenty minutes at 400°F (200°C). Once cool, dry the insides with a paper towel. Your canelé moulds are ready! If you ever wash them (which you shouldn’t), you’ll need to repeat this step before using them again. In general, you should just wipe them clean after each use.
Making the Batter & Waiting
Canelés only have a few ingredients and are baked with a batter (not dough) very similar to what one would use for crêpes. Since there are so few ingredients, and no strong flavours to hide behind, it is important to use high quality products.
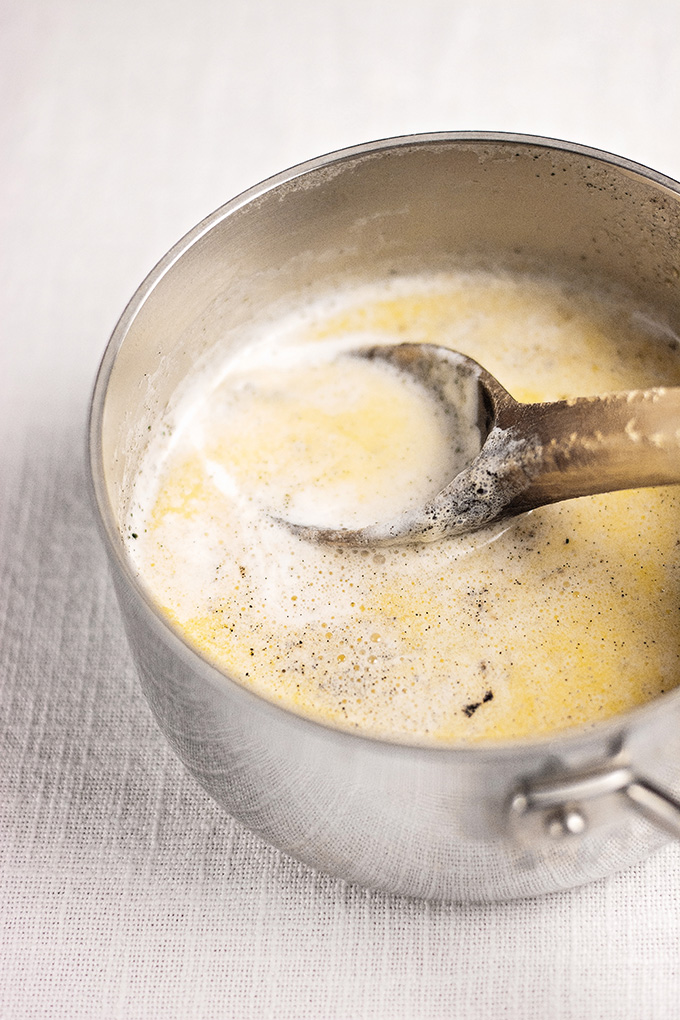
The first step is to simmer whole milk, butter, and a split & scraped vanilla bean. Traditionally, Tahitian vanilla is used in canelés. Luckily, I had previously purchased Tahitian vanilla beans in bulk online. But, really, the origin of the vanilla bean is not paramount. In a pinch, some good vanilla extract works as well. Letting the milk mixture sit, covered and off of the stove, for twenty minutes helps the vanilla flavours diffuse into the milk fat.
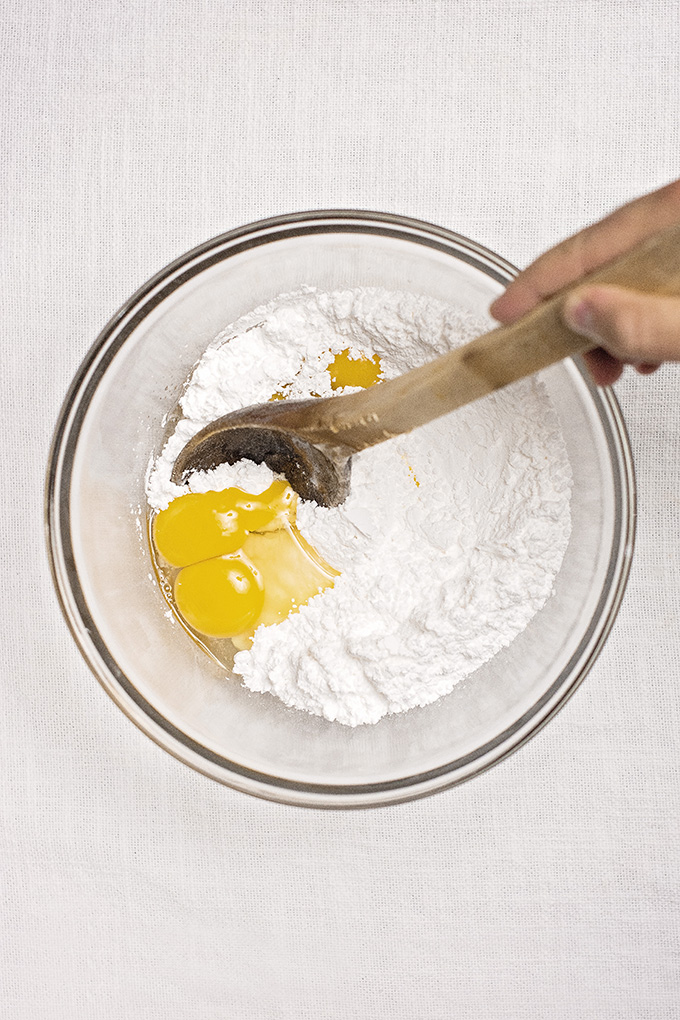
Meanwhile, powdered sugar, eggs, and egg yolks are gently combined. One of the most important parts of this process is letting as little air into the batter as possible. This means always avoiding whisking and, instead, stirring as carefully as possible.
As an interesting aside, canelés were originally created by a group tasked with using up unused egg yolks (the egg whites were used as fining agents in local wine production).
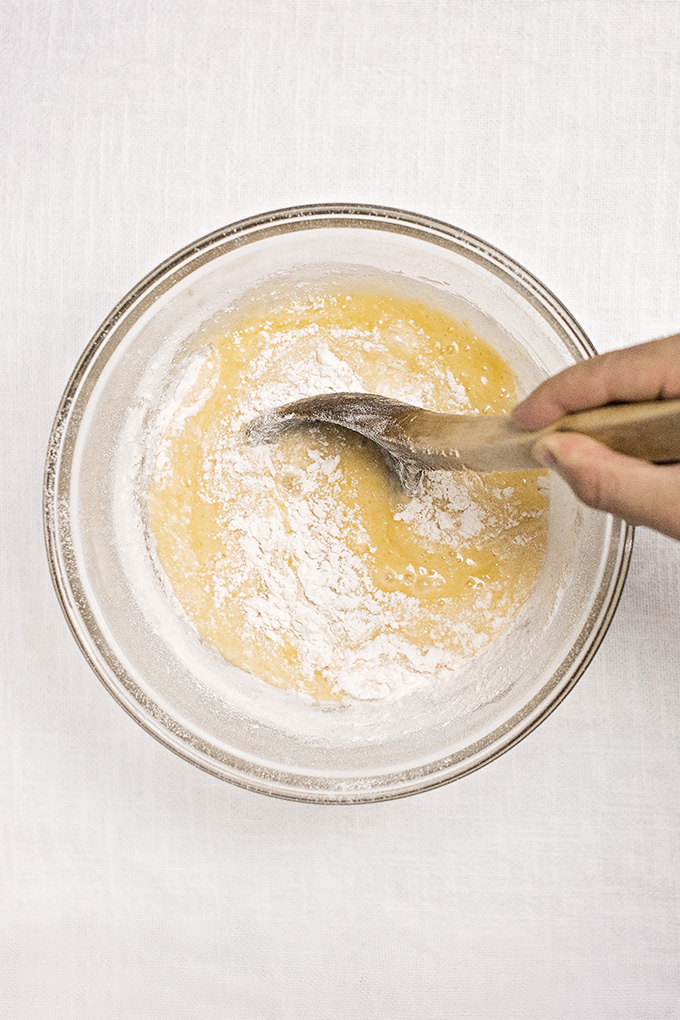
After stirring in some dark rum (the secondary flavour in canelés after vanilla), all-purpose flour and salt are sifted in.
A few notes here. First, different recipes recommend different types of flour. Paula Wolfert’s opts for cake/pastry flour (which has low protein content), Pierre Hermé uses all-purpose flour (which has a medium protein content), and others use bread flour (which has high protein content). Differences in protein content impact the texture and mouthfeel of the canelés. Using lower protein flour yields a canelé with a more cake-like texture inside, which isn’t ideal. Using bread flour results in a center that, while sometimes properly custardy, seems off to me. I prefer Pierre Hermé’s all-purpose flour.
More important than the type of flour, however, is the act of sifting it in. Canelé recipes all require a rest period after the batter is mixed to allow the vanilla flavour to diffuse and, critically, the liquids to fully hydrate the flour. The smaller the minuscule clumps of flour, the more surface area each particle has and the faster it absorbs the surrounding moisture. Thus, sifting the flour in allows one to make canelés quicker.
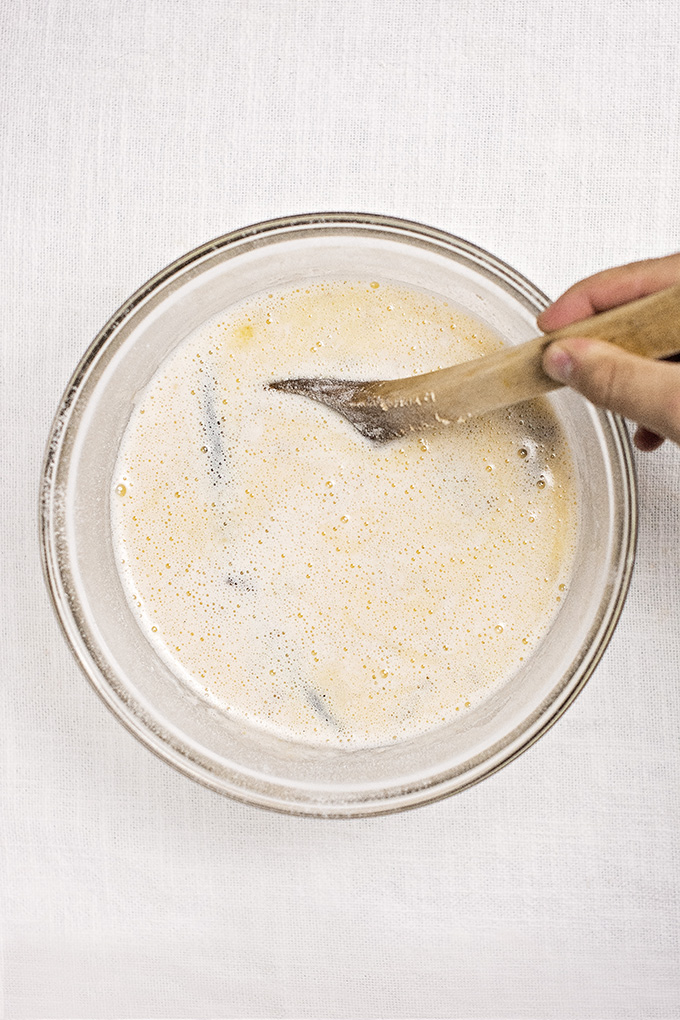
The batter is mixed gently such that air is not incorporated. Next, the milk, butter, and vanilla mixture is poured in. More stirring follows.
After straining the batter to remove any residual clumps (and putting the vanilla bean back), the mixture must rest in the fridge. In my research, I have found different recommendations as far as wait times go. Yet, in my experiments, I have found that, if the flour and salt are sifted in, there is a negligible difference in canelé quality for wait times over 24 hours. In fact, I think the later batches turn out just very slightly worse. “White ass” is the technical term for a discoloured canelé that has a spot of white on its crown. The more I wait, the more frequent white tops seem to be. I sift and bake after 24 hours, but later if the timing is inconvenient for me.
Canelés: “White Oil”, Butter, and The Mess that is Beeswax
Before baking, canelé moulds need to be coated with a mixture of butter and edible beeswax called, together, “white oil”. (While you only need to apply the coating of vegetable oil described above once when you buy the moulds, you have to coat the copper with white oil each time you bake canelés.)
Beeswax is an incredibly important ingredient in canelés and is critical to a shiny, uniformly-coloured mahogany (or darker) crust. Additionally, using beeswax imparts a light, honey flavour to the pastry. The problem, of course, is that beeswax is not a standard ingredient and can be difficult to find. While much cosmetic-grade beeswax comes up on Google, the pure, food-grade alternative is a bit tougher to track down.
How do you find edible beeswax near you? Here’s some advice. First, check your local farmers’ market. Often, those selling honey products will have food-grade beeswax that they can sell to you. Generally, however, you must ask for it. Beeswax is rarely on display since few buy it.
Another option is to find beekeepers near you, by searching online, and then contacting them. Here, I suggest looking at both commercial beekeepers (who have websites) and amateur, urban beekeepers. Facebook groups are popular with the latter crowd. Try seeing if there is a group of amateur beekeepers near you. Just make sure to ask if their beeswax is safe to eat before buying it.
Consider buying beeswax from a bee-themed store (these aren’t super common, but I ended up buying my beeswax at one I found in Toronto).
For most, the easiest solution will probably be buying beeswax online (here’s a link to an e-commerce store based out of Indiana in the US, a link to Amazon, and I believe the store I visited in Toronto and linked to above ships throughout Canada). Many small stores sell beeswax online but do not specify whether it is safe to eat. Since beeswax is an uncommon ingredient, the applications usually listed are for the likes of candle making. Contact the store and ask. Usually the beeswax is in fact safe to eat, even if that isn’t the main selling point.
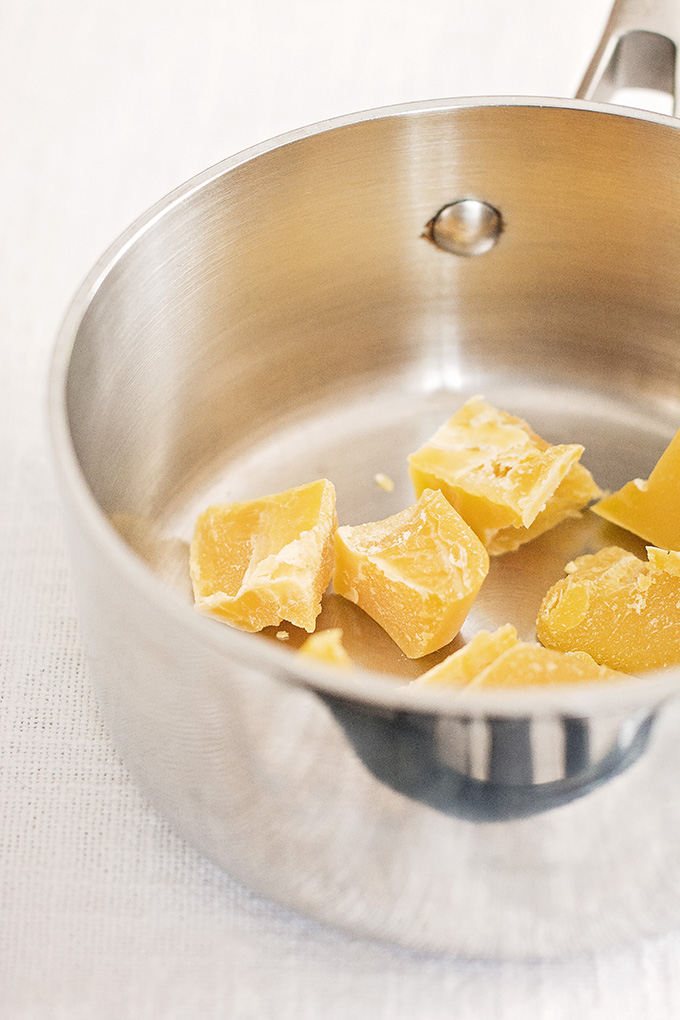
After melting the beeswax over low heat, an equal amount of butter (by mass) is stirred in until it melts. Meanwhile, the copper moulds are heated to ensure that the beeswax doesn’t solidify instantly upon contact.
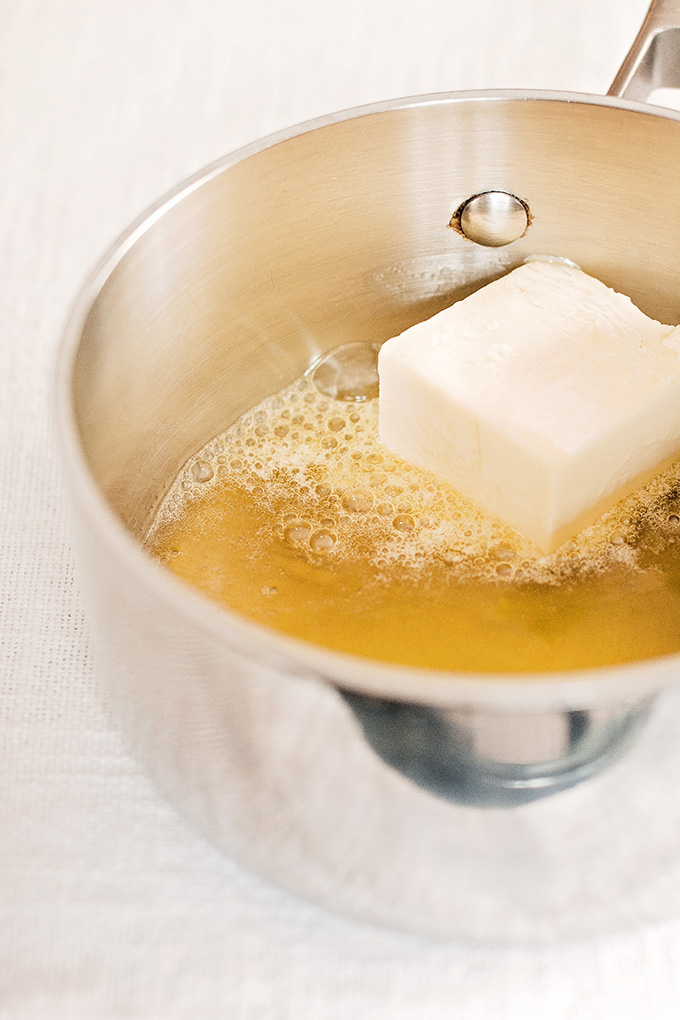
Once they’re hot, the white oil (which is actually yellow) is poured into the moulds, almost to the top.
You’ll notice in the picture below that there are some solidified pieces in my white oil. Indeed, it hardens quite quickly. No worries if it does. Simply reheat. You can keep extra white oil in a glass container and reheat in the microwave for a future batch of canelés.
In the case of the photo, however, the floating bits are actually the milk solids from the butter. You can scrape those off the top with a spoon, if you’d like, but it’s not necessary unless they are making pouring the white oil difficult or if you’re planning to keep the white oil for a while (to make multiple batches of canelés).
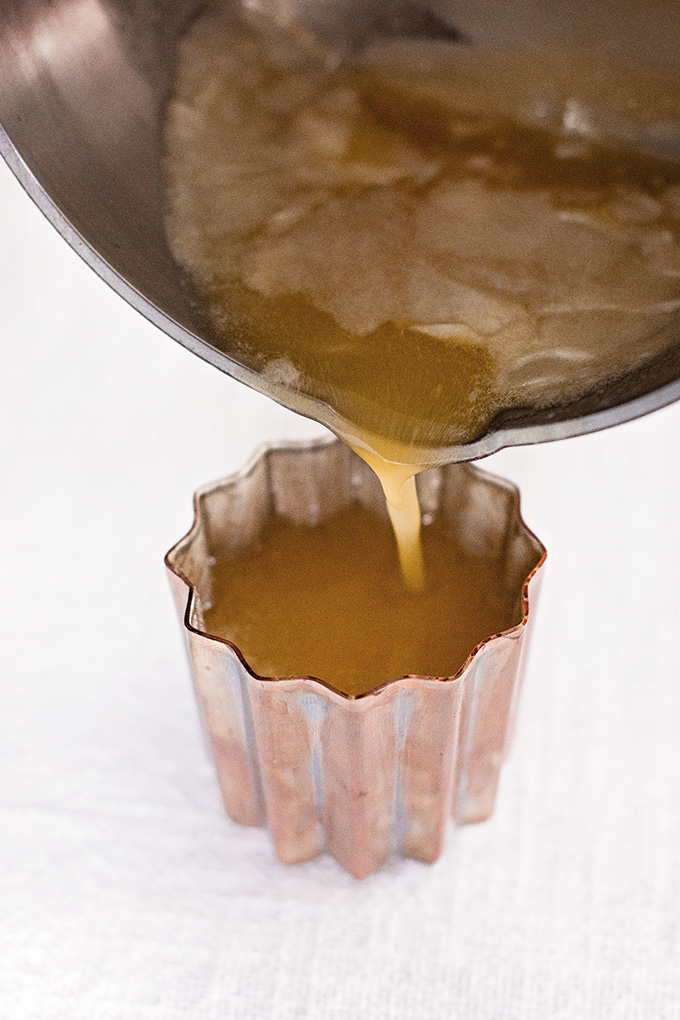
The moulds are then flipped over, so as to pour the white oil back into the saucepan. They are then placed upside down onto a wire rack with a sheet of parchment paper underneath. Flipping the moulds over allows extra white oil to drip out.
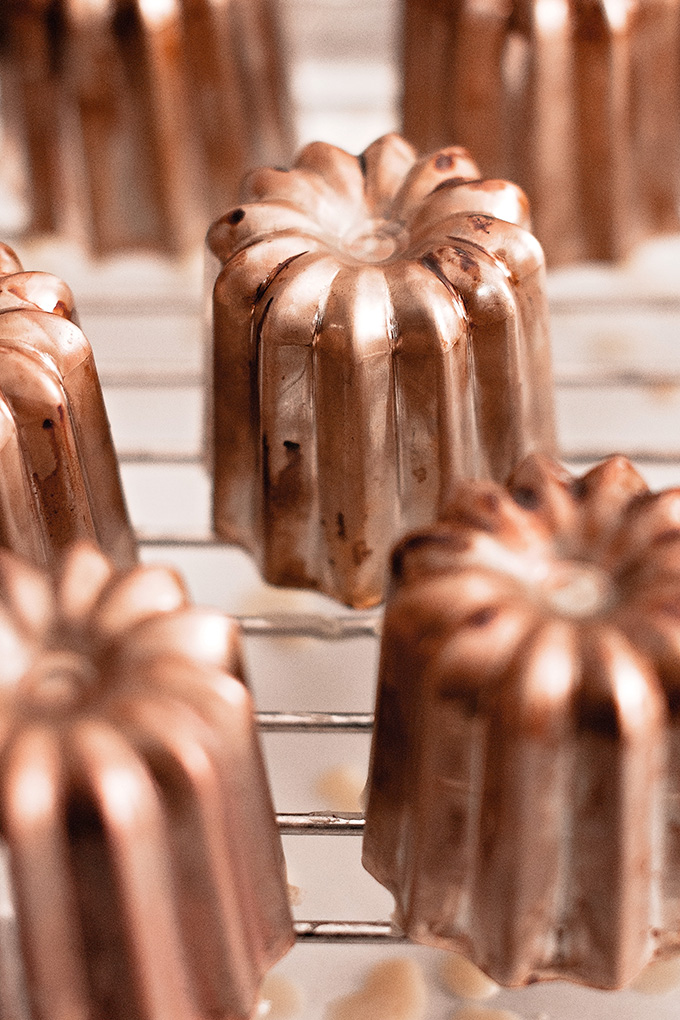
The goal here is a very thin coating. Otherwise, one is left with a waxy pastry that is less than appetizing. If too much white oil sticks, likely because the white oil or the copper was too cold, simply invert the copper moulds onto a baking tray and bake at a high temperature until the oil melts and drips off. Then just try again.
You might see some recipes suggest to brush the white oil mixture into the moulds with a pastry brush. This is a bad idea. Applying the white oil with a brush results in a very thick, waxy, and unpleasant exterior. Use the wire rack method for best results.
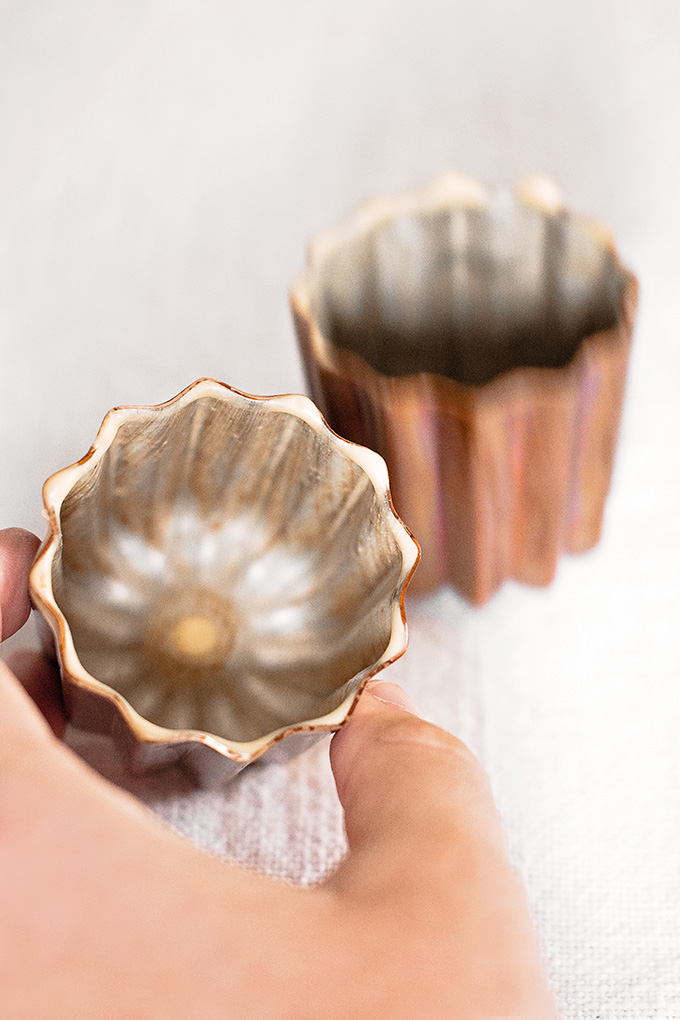
After coating, you’ll need to put the copper moulds into the freezer for at least thirty minutes. This is a good time to remove the solidified beeswax that has inevitably coated every corner of your kitchen.
Canelés: Baking & Eating
Baking instructions differ based on how good your oven is. The key to a great canelé is a shock of high heat to aid in the caramelization of the crust. If you are using a commercial oven, you can probably make due with a constant baking temperature. Indeed, that is what both Paula Wolfert and Pierre Hermé recommend. With less powerful home ovens, starting at a higher temperature is necessary since, when the freezer-chilled copper moulds are placed inside, the temperature will rapidly drop. I am providing the temperature and times below that work best for my oven, but you may have to experiment to find what works best for you.
First, I place a thick sheet pan in the oven and preheat, on the non-convection setting, to 475°F (245°C).
Once the oven gets to the right temperature, I take the canelé moulds out of the freezer and pour about 70g of well-mixed batter into each one. (Again, mixing thoroughly but slowly enough to avoid incorporating air.) If using a smaller-than-traditional canelé mould (so less than 55mm or about 2” in diameter), you would need to pour in less. You would like about 1cm (0.4”) of space above the batter to allow it to expand while baking.
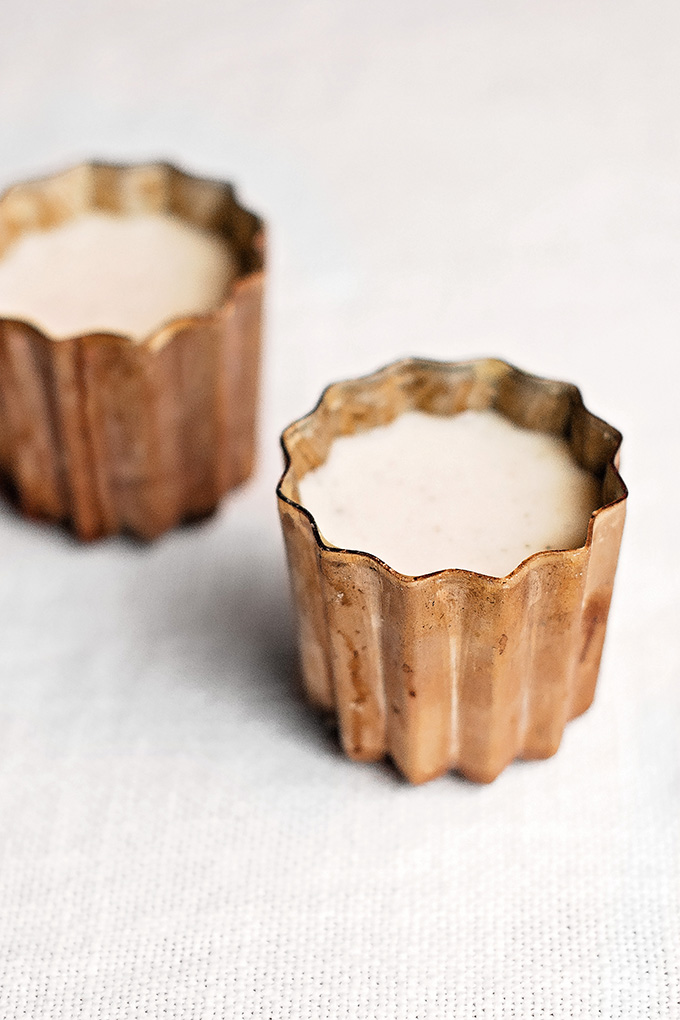
Quickly after filling, I remove the warmed up sheet pan from the oven, evenly space the moulds out on it, and then slide the tray back in. Immediately after doing so, I lower the temperature to 450°F (230°C) and bake for 15 minutes. This is the initial shock of heat that helps the exterior sugars caramelize in the coating of white oil.
Next, I lower the temperature to 350°F (180°C) and bake for an additional 60 minutes to get a dark mahogany colour. For an even darker shade of brown, the likes of which Pierre Hermé advocates for, bake 70-75 minutes instead of 60.
The base of the canelé (which is the only part visible while baking) will be lighter in colour than the rest of the pastry; do not bake until the base is fully dark.
While baking, you may see the canelés start rising up above the edge of your copper moulds. In all of my test batches this happened, but eventually they settled back down. If yours start going too far up (watch closely in the first twenty minutes of baking until you know your oven well), take the sheet pan out of the oven for a couple of moments so that the canelés settle down. Once they do, slide the pan back in. Make sure to still bake for the proper amount of time.
If your oven doesn’t heat very evenly, you may need to rotate the sheet pan of canelés every 15-20 minutes. Just don’t rotate it in the first 15 minutes. Opening the oven door will stem the necessary dose of heat that helps start the caramelization of the sugars.
Once baked, promptly (while still hot) flip the moulds over with a pair of kitchen tongs and bang on the counter until the canelés fall out. Let cool on a wire rack. If a canelé does not come out, bake for a few more minutes and try loosening it with a toothpick around the rim of the mould.
Removing the canelés from the moulds instantly is critical for the crust to harden properly. Baking the canelés until they harden in the oven would result in truly burnt pastries. Instead, the rapid transition from hot to cool as a result of a swift de-moulding is what you need. In fact, this is a good baking tip in general: If you want a crunchier crust on a baked good, de-mould it right away. If you’d like a softer crust, let it cool to room temperature in the pan and, in the extreme, cover it with a towel.
The canelés are ready to eat once they are at room temperature, about 45 minutes after baking. They are best eaten within 6 hours since, as time passes, the crust becomes softer and the textural contrast is lost. Paula Wolfert recommends heating them up (without moulds) in a 450°F (230°C) oven for 5 minutes, and letting them come to room temperature once more, if eating after that point. I’ve tried this and can confirm that they are far better fresh. With reheating, the crust just doesn’t get as crunchy again.
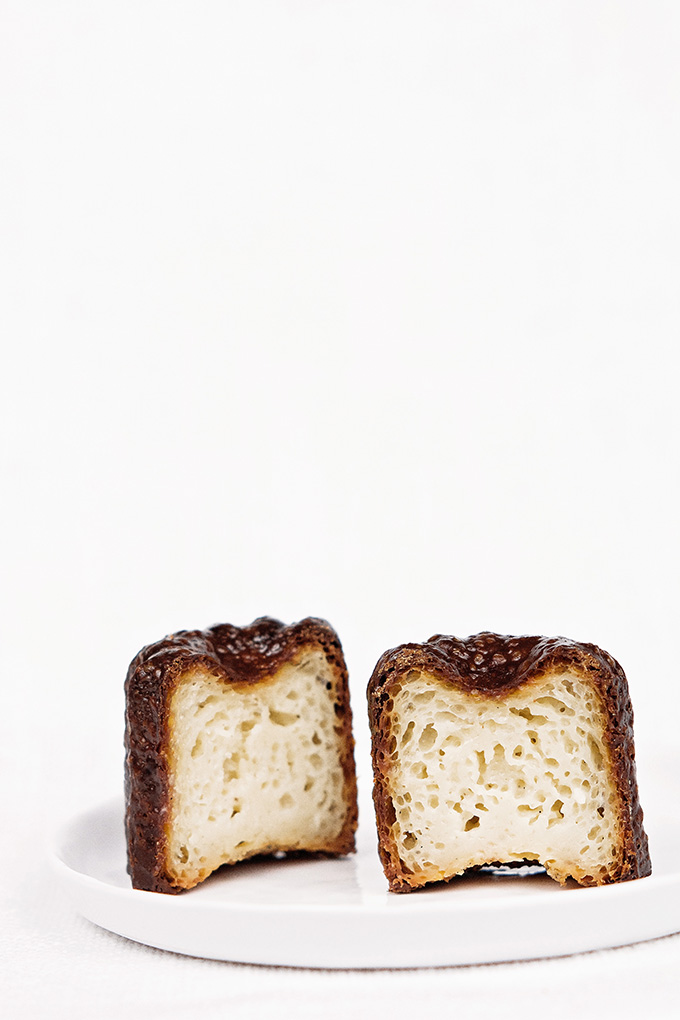
This recipe isn’t too hard. The trick is really in the shopping: finding inexpensive copper moulds and edible beeswax. The actual techniques just consist of stirring and waiting. The only somewhat tricky part is the baking itself, but that is more so a test of how well you know your oven. If you’re looking for more of a challenge, I would point you to my tutorial for macarons or, better yet, croissants.
In fact, I am a bit disappointed that these were not harder to make. They are very, very tasty, and the surprising crunch followed by a creamy center is fun, but the hype regarding how hard they are to make was, at least for me, the most alluring part. I echo John F. Kennedy’s speech about going to the Moon: “[We do things] not because they are easy, but because they are hard.” Croissants were definitely harder.
Liked this tutorial? Read another one!
- Vegetable oil
- 500g whole milk
- 1 vanilla bean (or, if necessary, 2 teaspoons of high quality vanilla extract)
- 50g butter
- 250g powdered sugar
- 2 egg yolks
- 2 eggs
- 15g dark rum
- 100g all-purpose flour
- pinch of salt
- 50g edible beeswax
- 50g butter
- Preheat the oven to 400°F (200°C).
- Wash the copper moulds with warm, soapy water. Rinse and then dry them with a clean cloth.
- Thoroughly grease the inside of the moulds with vegetable oil. Place the moulds on a sheet tray and bake for twenty minutes.
- Remove from oven and let cool completely before drying with a paper towel.
- Pour the milk into a medium saucepan. Split the vanilla bean in half, scraping out the seeds into the milk. Add the vanilla bean itself, as well as the butter, to the saucepan. Bring to a simmer over low heat. Once simmering, remove from heat, cover, and let cool for twenty minutes.
- In a large bowl, gently mix together (do not whisk) the powdered sugar, egg yolks, and eggs. Stir in the rum. Sift in the flour and salt, mixing until combined. Always try to incorporate as little air as possible through this process.
- Pour in the milk, vanilla, and butter mixture. Lightly stir together. Strain the batter, over a fine-mesh strainer, into a large bowl. This will remove any lumps in the batter.
- Transfer the vanilla bean into the bowl with the batter, cover with plastic wrap, and let rest in the fridge for 24-48 hours, as convenient. I find results are best around the 24 hour mark.
- Place the empty copper moulds on a sheet pan and bake at 400°F (200°C) for a few minutes, until very hot. Using hot moulds ensures that you only get a thin coating of white oil in each one.
- Prepare a wire rack, with parchment paper underneath, on your counter or on a sheet pan.
- Melt the beeswax (easiest to cut off from a block of it with a hot knife) in a small saucepan over low heat, stirring often. Once liquid, stir in the butter until melted. Skim off and remove the milk solids that will float to the top (optional, unless you are making lots of white oil and wish to keep it for a while). This is your "white oil". If it hardens, just melt again.
- Working quickly, remove the sheet pan with all of the moulds from the oven. Fill a mould with white oil, flip over with a pair of kitchen tongs to pour the white oil back into the saucepan, and then place upside down on the wire rack to allow excess oil to drip out onto the parchment. Repeat with remaining moulds.
- You should have a very thin coating of white oil in each mould, or else you will end up with a waxy pastry. If there is too much, heat the offending mould upside down on a sheet pan in a hot oven so that the wax melts and drips out. Repeat the previous step.
- Store extra white oil in a glass container at room temperature (don't forget to collect the dried drops on the parchment paper). For your next canelé adventure, melt in the microwave.
- Put the canelé moulds in the freezer for at least thirty minutes prior to filling and baking.
- Place a thick sheet pan in the oven and preheat, on the non-convection setting, to 475°F (245°C).
- Once the oven gets to the right temperature, remove the bowl of batter from the fridge and mix thoroughly, but slowly, making sure not to incorporate much air.
- Working quickly, remove the canelé moulds from the freezer and fill each one to about 1cm (0.4'') from the top. If you're using traditional 55mm (2'') in diameter moulds, you'll need about 70g of batter for each one and this recipe will make about 12-13. I like to transfer the batter to a measuring cup to pour it into each mould easily.
- Remove the sheet pan from the oven, evenly space the moulds out on it, and quickly return to the oven to bake. Immediately lower the temperature to 450°F (230°C) and bake for 15 minutes.
- Now, decrease the temperature to 350°F (180°C) and bake for 60 minutes to get a dark mahogany colour or 70-75 minutes for a colour closer to black. Do not bake until they are hard or the base (the part you can see while baking) is fully dark; the shell will become hard as it cools and the base will always be a bit lighter than the rest of the pastry.
- Once done, immediately flip the moulds over with a pair of kitchen tongs or gloves and bang on the counter until the canelés fall out. Cool on a wire rack. If you have issues de-moulding one, bake for a couple more minutes and try loosening it with a toothpick around the rim.
- Eat once they reach room temperature (about 45 minutes), as at this point the shell will become properly crunchy. They are best consumed within 6 hours since, as time passes, the crust becomes softer and the textural contrast is lost. If eating afterward, heat (without moulds) in a 450°F (230°C) oven for 5 minutes and then let come back to room temperature so the shells harden once more. Note that they are not nearly as good reheated.
My hat`s the right off to you, Ilan, for going to the effort to get the proper molds and edible beeswax. I think that would stop almost everyone.
I will try these caneles at a patisserie near me (in Minsk, Belarus) where the chef-owner is French. His other French products are made just as well as in France but by his Belarusian pastry chefs. You are lucky to have tried Ansel`s goods.
Keep up the good work. And you are right about croissants! Have you tried making strudels with hand-stretched strudel dough? It could be a great project that is unusual, beautiful and well-appreciated as a rarity on the table.
Belarus? Very cool! I like the strudel idea.. I shall add it to the to-do list. Thank you!
Cannelés! I had some a few years ago on a family visit in Switzerland, they were fantastic! I can’t recall the store through, somewhere in Lausanne anyhoo
Back at home here in Perth I’ve yet to find a patisserie that makes them, but now that you’ve put up a nicely detailed recipe I’ll have to try them myself!
These are lovely! You took this challenge and ran with it! I have actually had success making them using melted butter and silicone molds–they may not have been 100% authentic, but they were certainly comparable to the ones I ate in France. The secret to using the silicone molds is to cut them apart from one another and place them on a baking tray. This ensures more even browning all around, and gives them a beautiful crusty exterior. Of course, the silicone molds are not nearly as elegant as your copper molds!
Cutting apart the silicone is a really interesting idea! I’ve heard of people using the full silicone mould, and not pouring batter into each one to help with even browning. But this is new! Thanks for sharing.
I love how detailed this post is! And all the pictures are beeeautiful, I so need to try caneles!
Hi Ilan, great post! I was searching for Cannele moulds online to buy when I came across your very informative how-to post. Question: the online store Labo&Gato that you had posted (thanks for sharing your resources), I actually was about to buy from them following your link, but was the shipping cost really high for you? It appears the shipping for me to the US would cost ~45€. Does that sound somewhat average or am I seeing it wrong?
If I remember correctly, I do think the shipping cost was fairly high since they are shipped from Europe.
I found edible beeswax online at Swanson health.
What is the purpose of putting the molds back in the freezer after coating? Would simply allowing them to cool before pouring in the batter work?
Thank you for this article (and recipe!). I recently purchased canelé molds (not individual ones, but not silicone…stainless steel, actually) and have been researching how to make these. Your article and recipe has given me (to quote Julia Child) “the courage of my convictions” to jump in and give it a whirl. I think you’re right, they’re actually going to be easier than all the hype. So, thank you! Fingers crossed for success! ;-)