A couple of weeks ago I shared my secrets to the perfect pie crust, and this week I want to show you how to make a lattice pie crust with interwoven strips of pie dough.
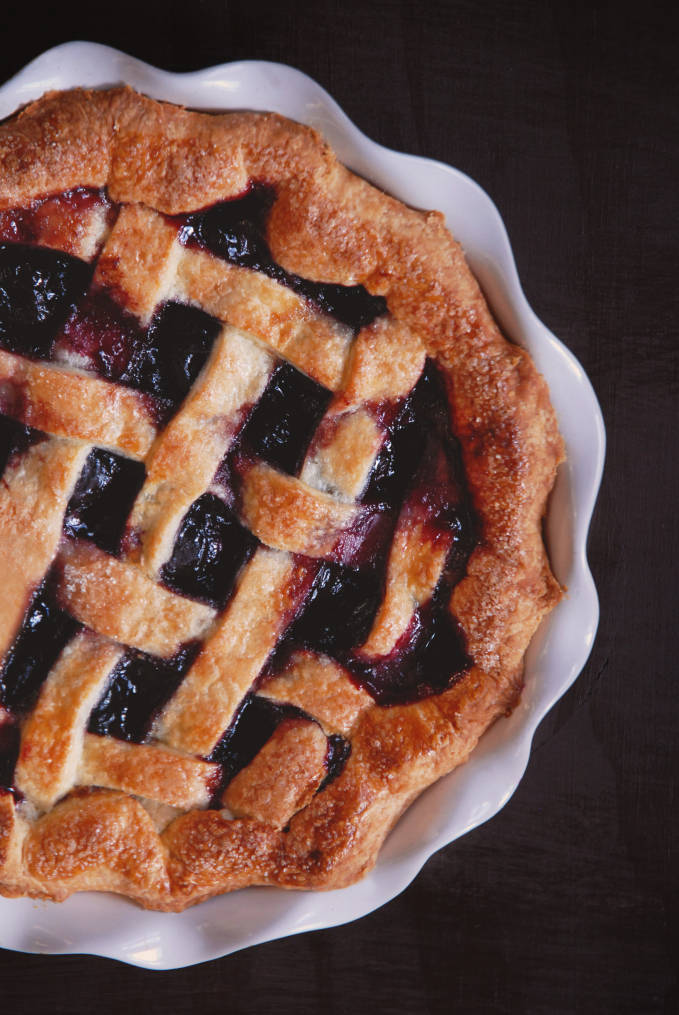
Making a lattice pie crust isn’t that hard once you get started, but the first few steps where you figure everything out can be a bit tricky. I do the first few steps a little bit differently though, and I find that it’s much easier my way.
The first step is obtaining pie dough (obviously) and putting it on a lightly floured work surface. I always make sure that my dough is really cold (you can read about why and get my recipe for pie dough – which you should double for a lattice pie – here) before starting. I start with half of the dough on my work surface and keep the rest in the fridge.
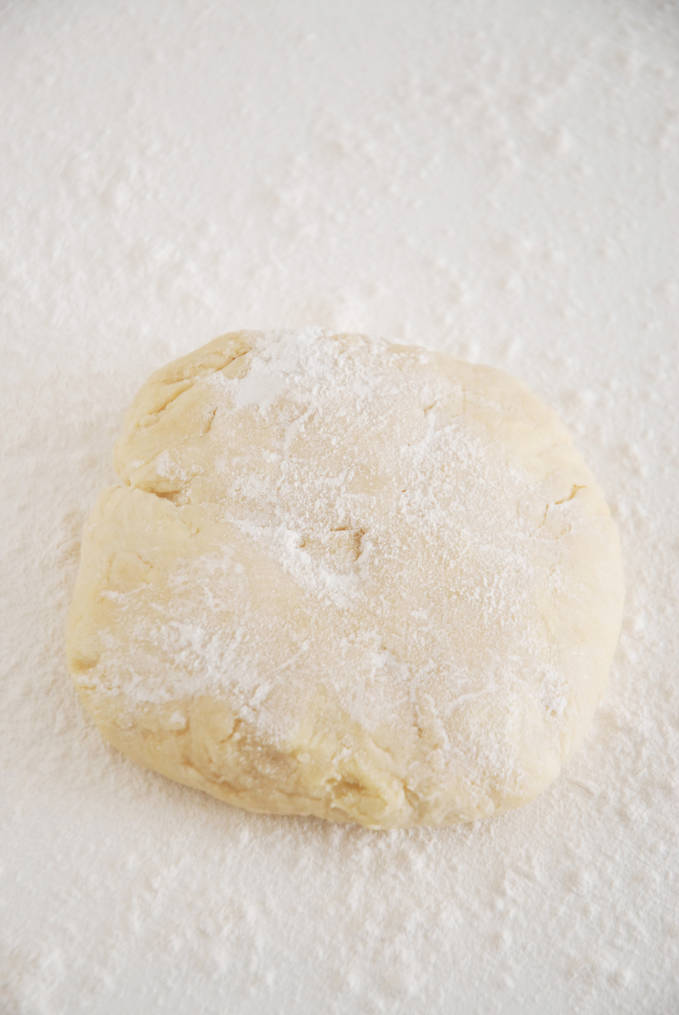
First I’ll go over what I do for the bottom crust of the pie.
I begin by rolling out the dough (making sure to roll from the center out and not back and forth, which would promote gluten development and result in a non-flaky crust).
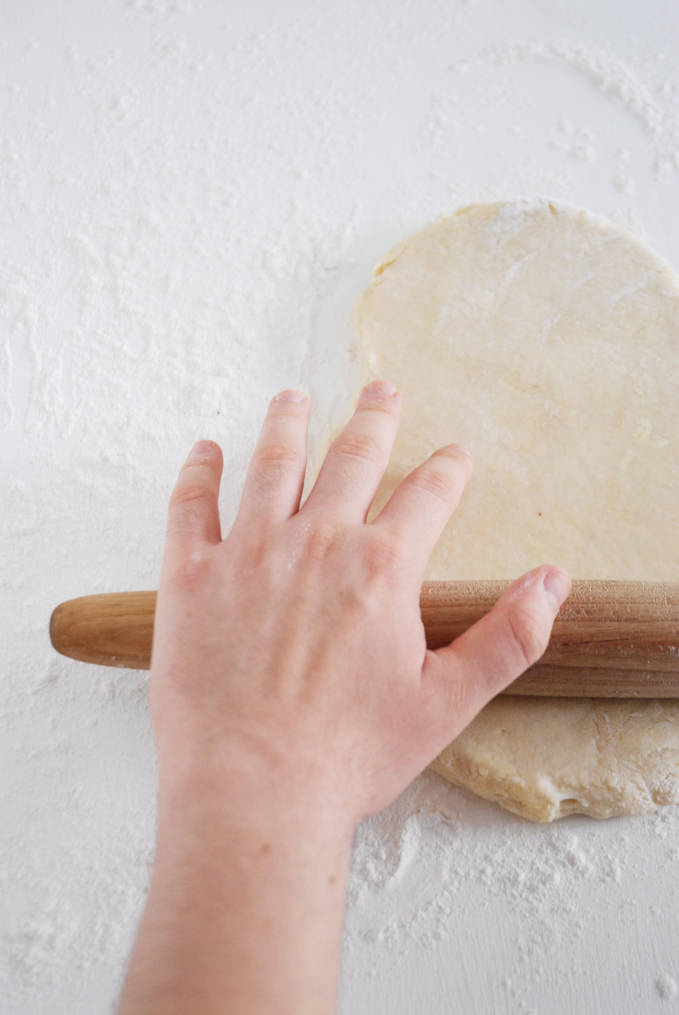
After a few rolls, I rotate the dough 90 degrees and keep on rolling it out. I continue turning and rolling the dough until it is slightly larger than my pie plate or dish. Turning the dough is important because it makes it less likely to stick to the work surface.
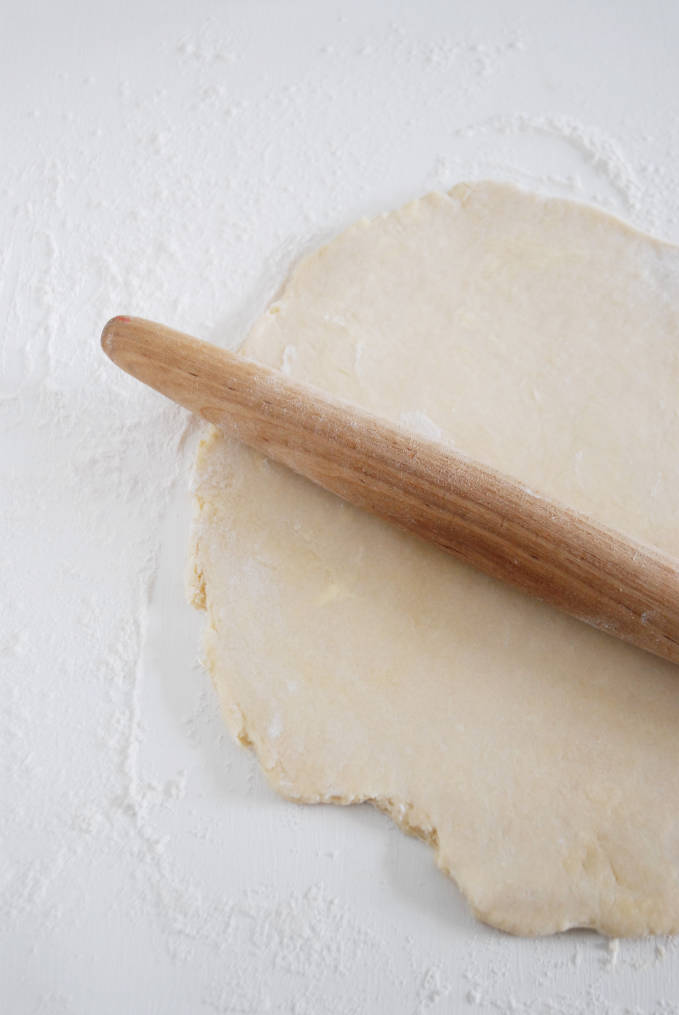
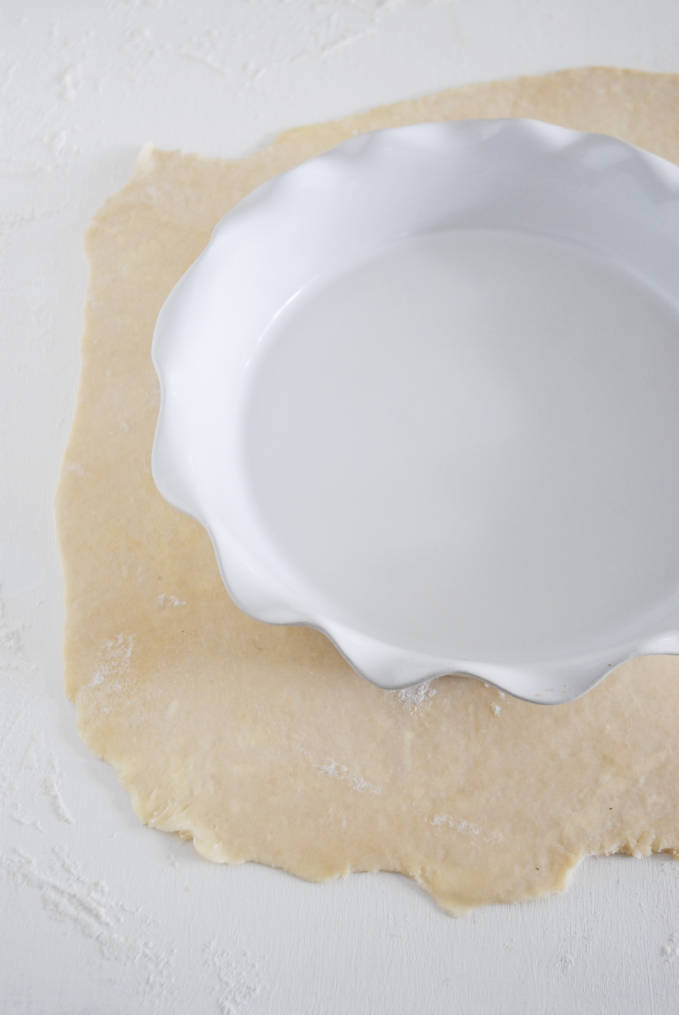
Once I think the dough is large enough, I test it by putting the pie plate over it. I always roll the dough out such as to leave a few extra inches around the circumference of the dish. I also never worry about the dough being perfectly round. As you can see, mine was really just a rough square.
To get the dough into the pan I like to loosely wrap it around my rolling pin and then unroll it over the pie plate. I don’t just pick up the dough because that would risk tearing it. All I do is roll…
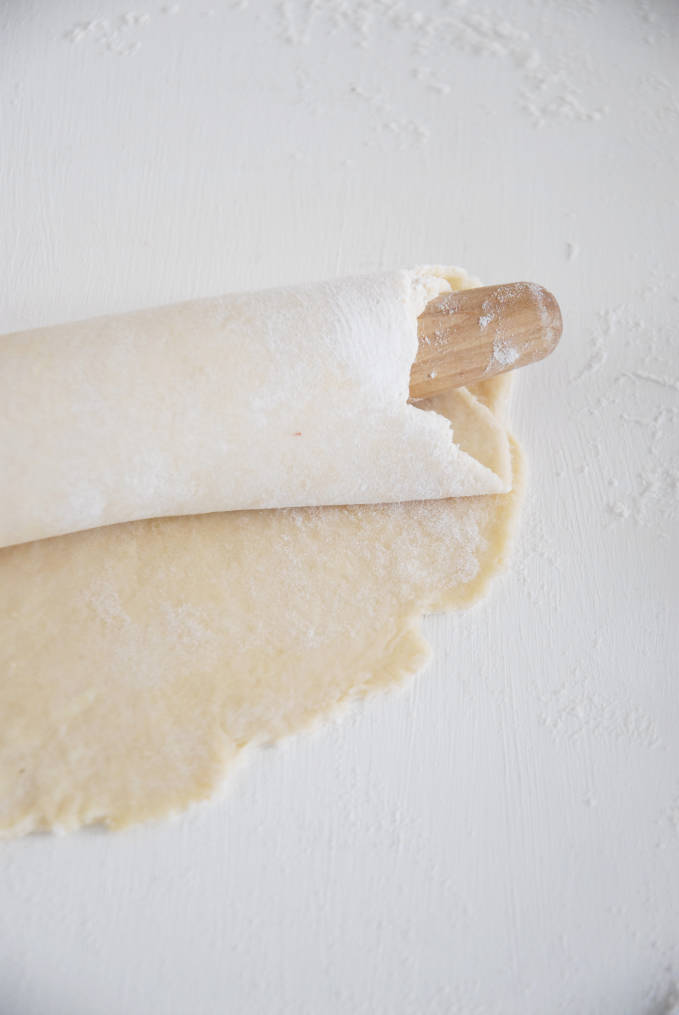
and then unroll… pretty simple.
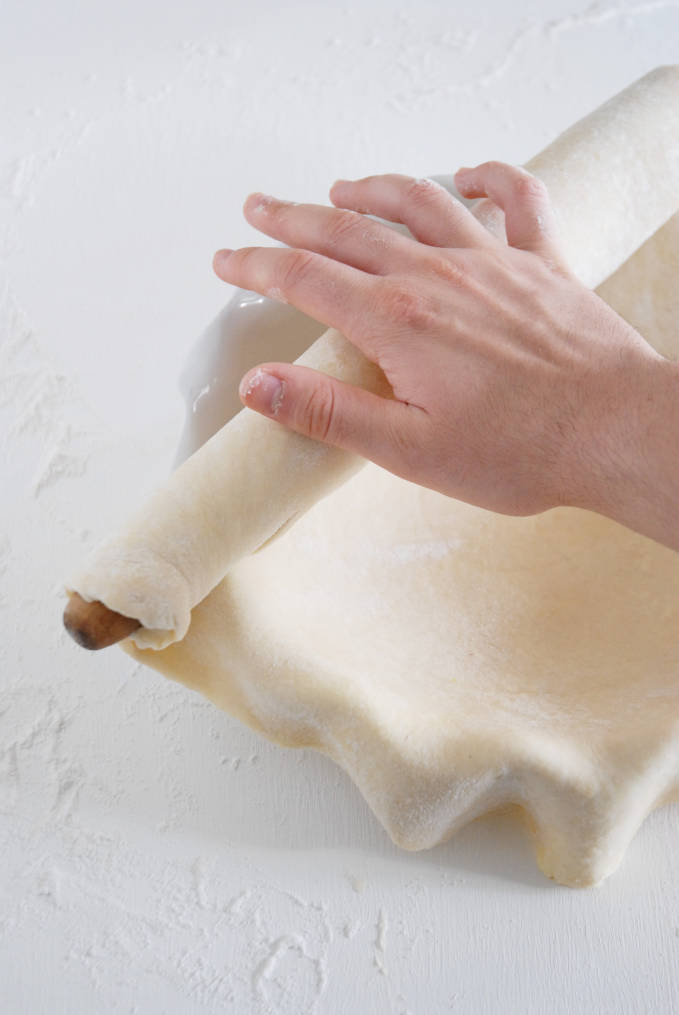
Using my fingers I push the dough into the edges of the pan so that it covers the pie plate completely. I pick up the dough with one hand and then push it in with the other.
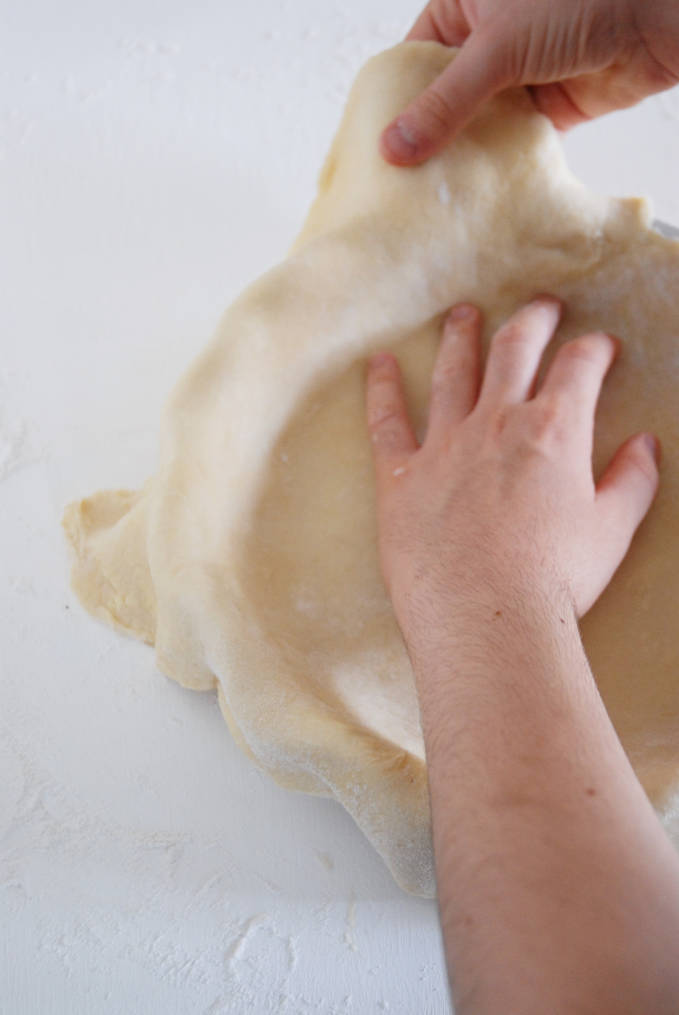
I then have a perfect bottom crust. I put the pie plate in the fridge and take the other half of the dough out of the fridge to make the lattice design.
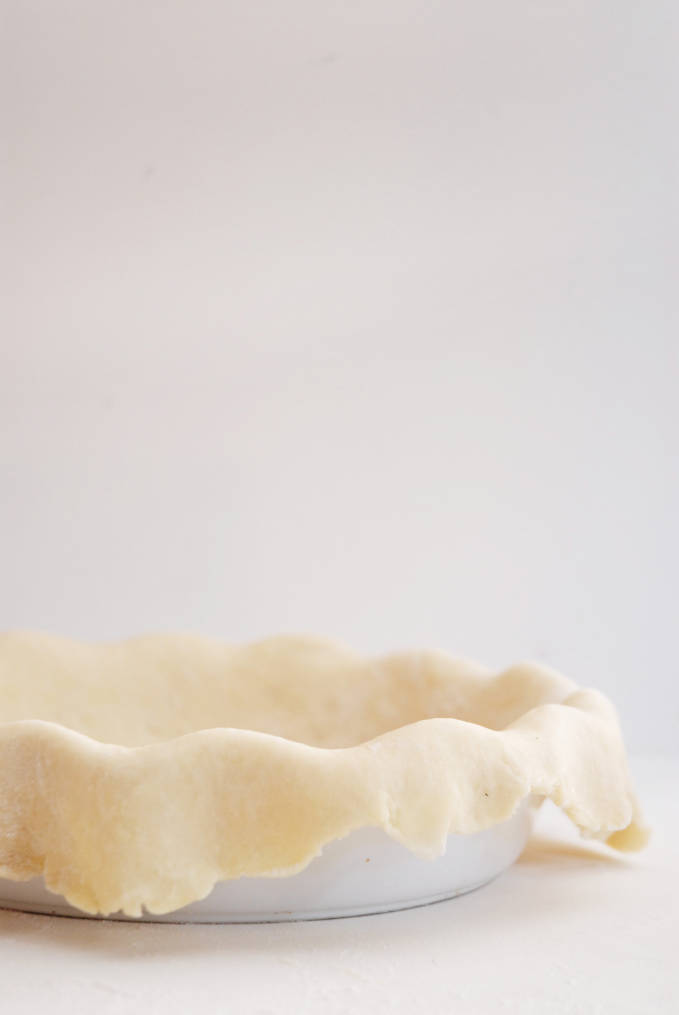
I roll out the dough the same way I did the bottom crust, and to roughly the same size.
I then take a ruler or a measuring tape and make marks about 2.5cm (or 1 inch) apart on the dough. Keeping the strips the same size helps make the pie look great. A lot of bakeries, that churn out hundreds of pies a day, have a special tool with evenly spaced cutters that ensure similarly sized strips. A knife, pastry wheel, or perhaps a pizza cutter is good enough for me.
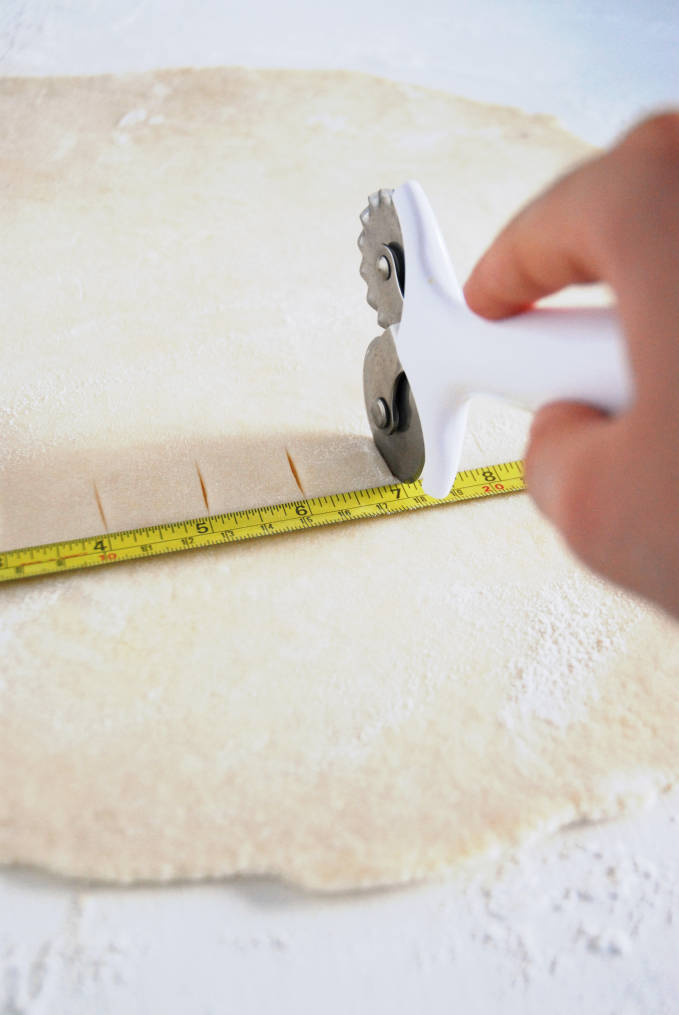
I cut along these marks to make the dough strips needed for the lattice.
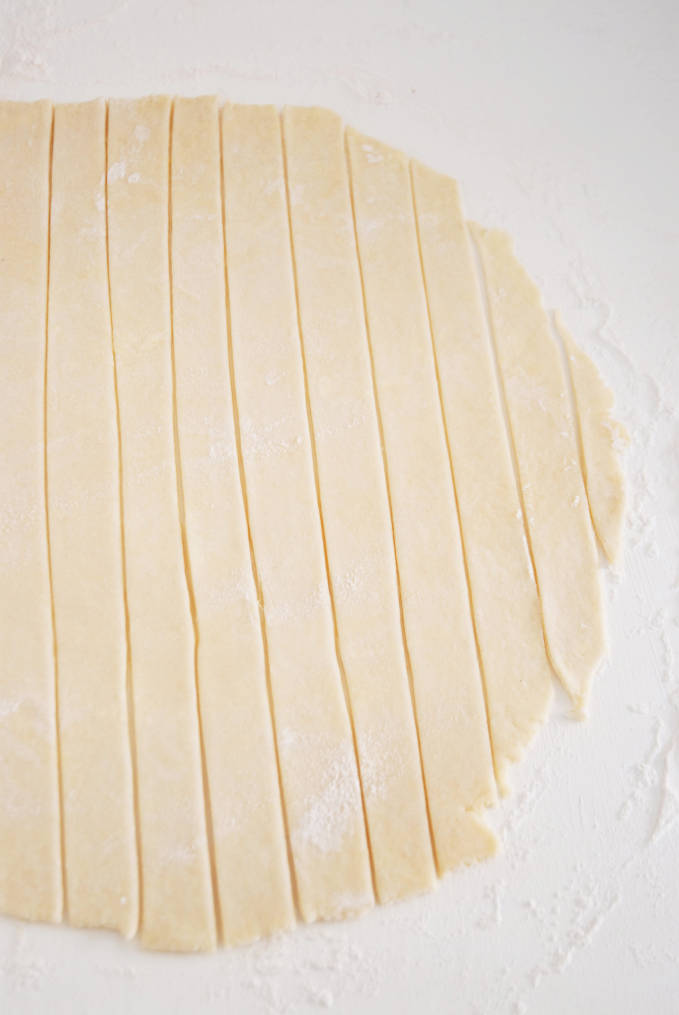
At this point, I like to add my filling to the crust chilling in the fridge. Adding in the filling too early will result in a soggy pie, so I do it right before I add the top lattice layer of the pie. This time I used a fabulous cherry-amaretto filling.

This is where it really gets exciting: the start of the lattice! I take the largest strip of dough that I cut, which is near the middle, and gently place it across the middle of the pie (on its diameter).
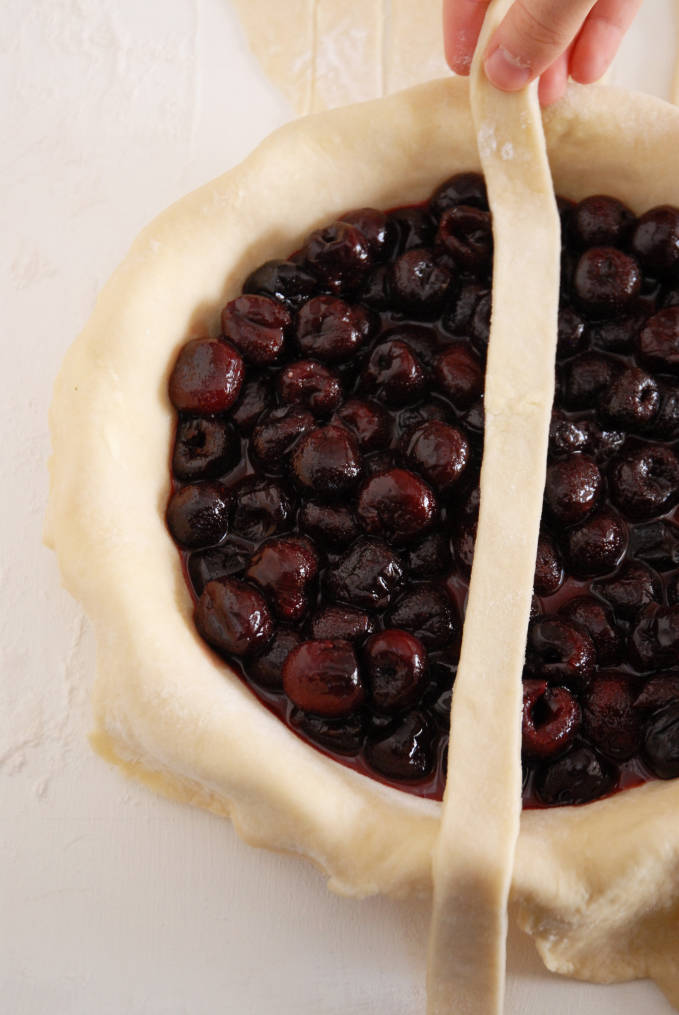
Next, I take every alternating strip of dough left of the center strip I just used and lay them down on the left side of the pie, leaving gaps in between that are about the size of one strip of dough.
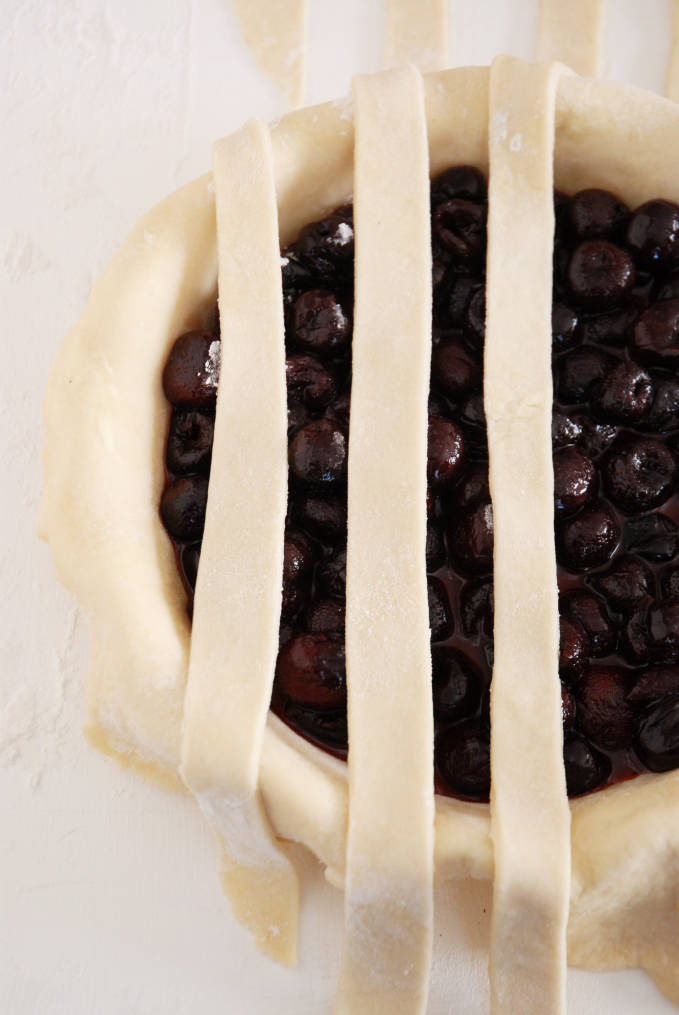
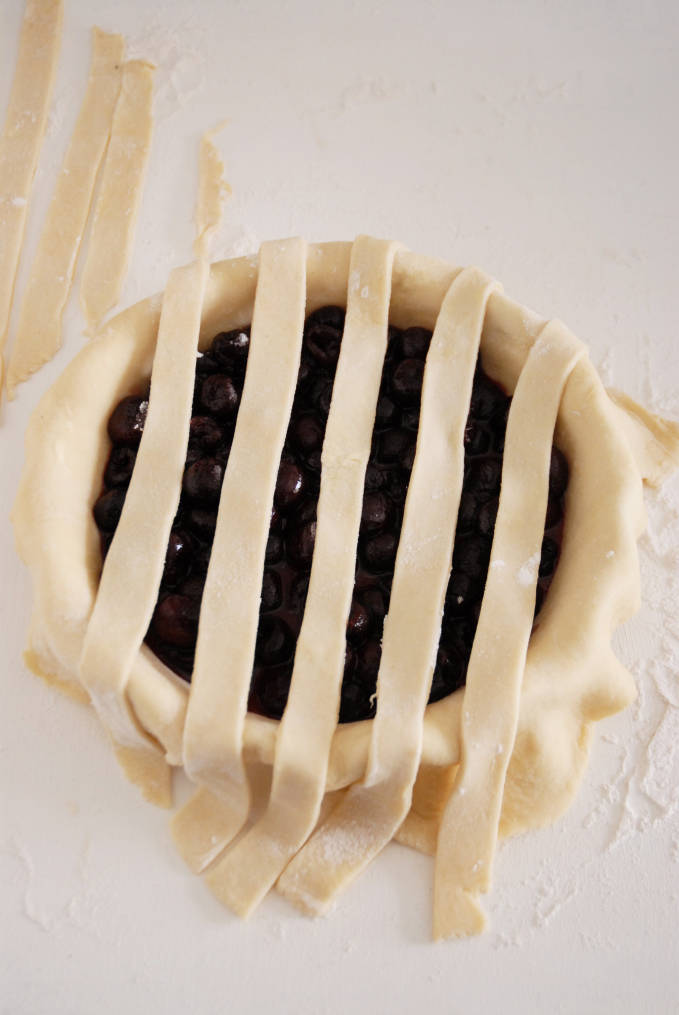
I then take every alternating strip of dough right of the center strip I just used and lay them down on the right side of the pie, leaving gaps in between that are about the size of one strip of dough.
I always end up with something that looks like this, with roughly the same number of strips of dough.
Now it’s time to do the lattice crust braiding! I like to start a little bit differently than most do because I find that putting on the first perpendicular lattice strip can be a little tricky.
First, I fold alternating strips of dough on the pie back on themselves.
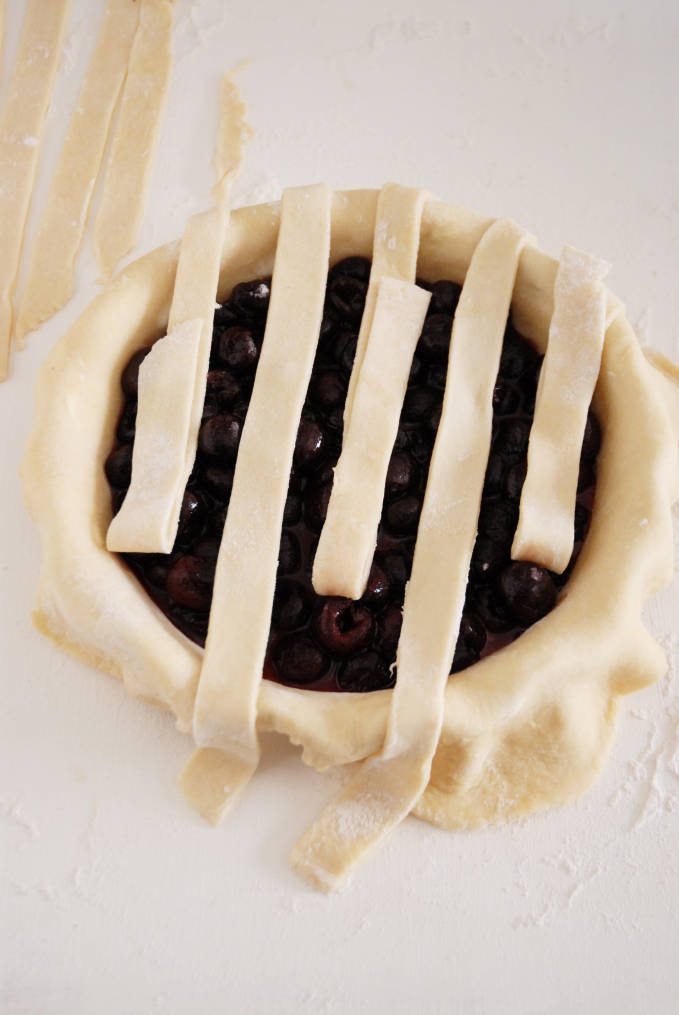
I then pick up a short strip of dough from my work surface (these are the strips of dough that were not yet on the pie). The shorter strips are generally near the edges. I take one of these shorter edge strips and place it perpendicularly to the strips of dough currently on the pie, right where I folded every alternating strip of dough back on itself.
The next step is unfolding the strips of dough. This leaves a pattern of alternating over and under strips of dough: the first part of the lattice! Looking at the picture below should help clear things up.
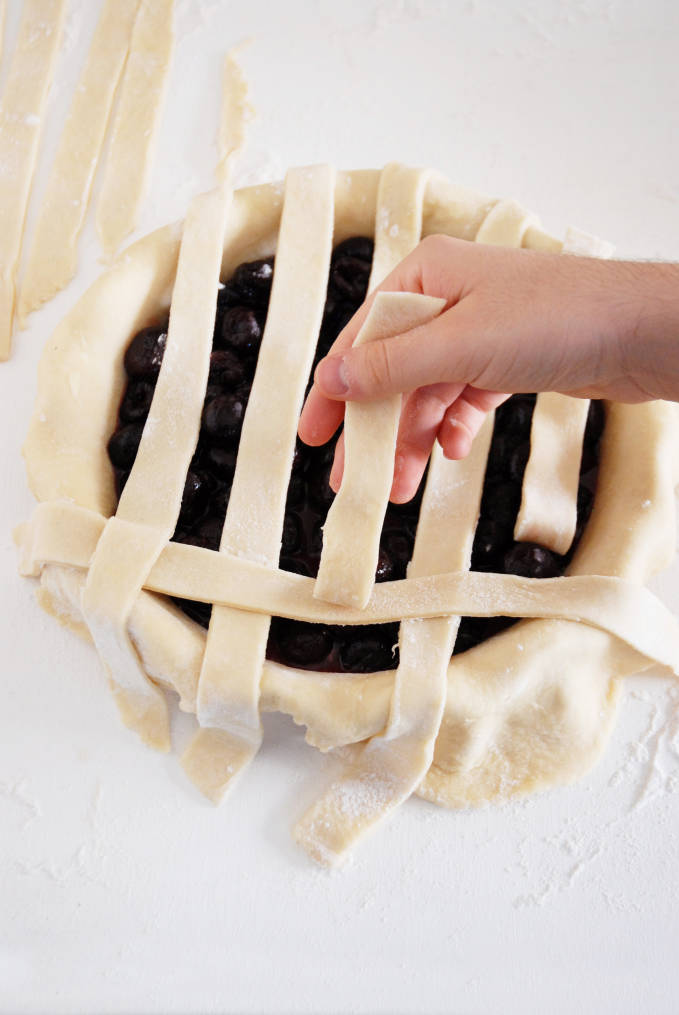
After, I fold back alternating strips of dough that I didn’t fold the previous time around. You’ll notice that you can’t fold them back in the same direction because of the perpendicular strip you just put down. You will need to fold them in the other direction, over that first perpendicular strip.
I then take another strip of dough from my work surface, working from left to right, and place it perpendicularly to the ones I just folded back. After, I unfold the strips I just folded back over that new perpendicular strip. That’s the second part of the lattice.
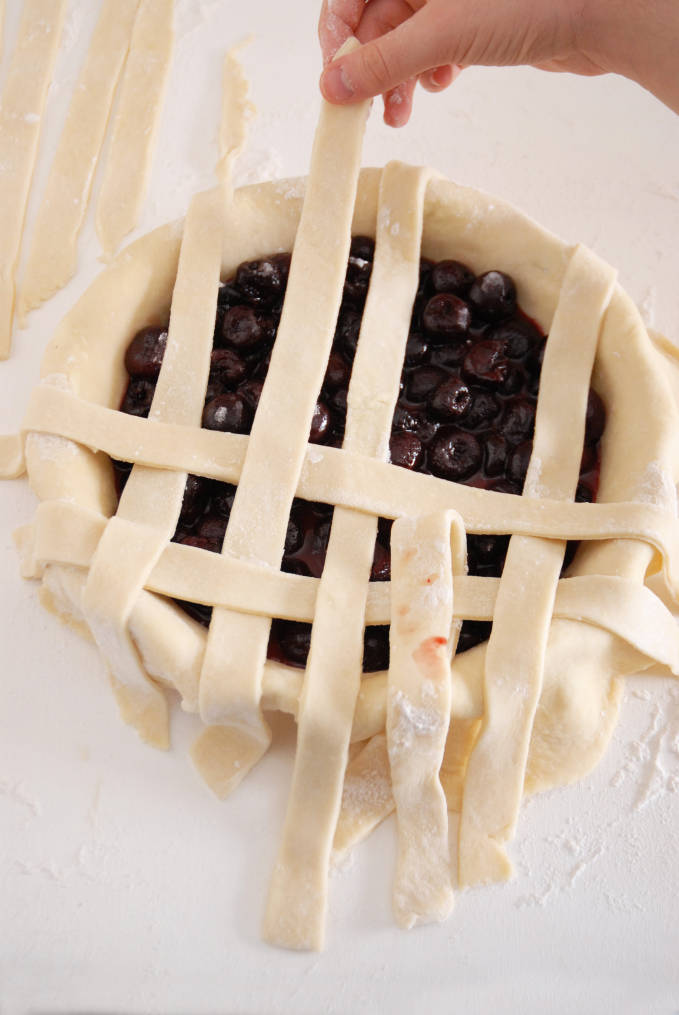
From this point on, all I do is repeat until I run out of room. I fold back every alternating strip (that I didn’t fold back the last time) …
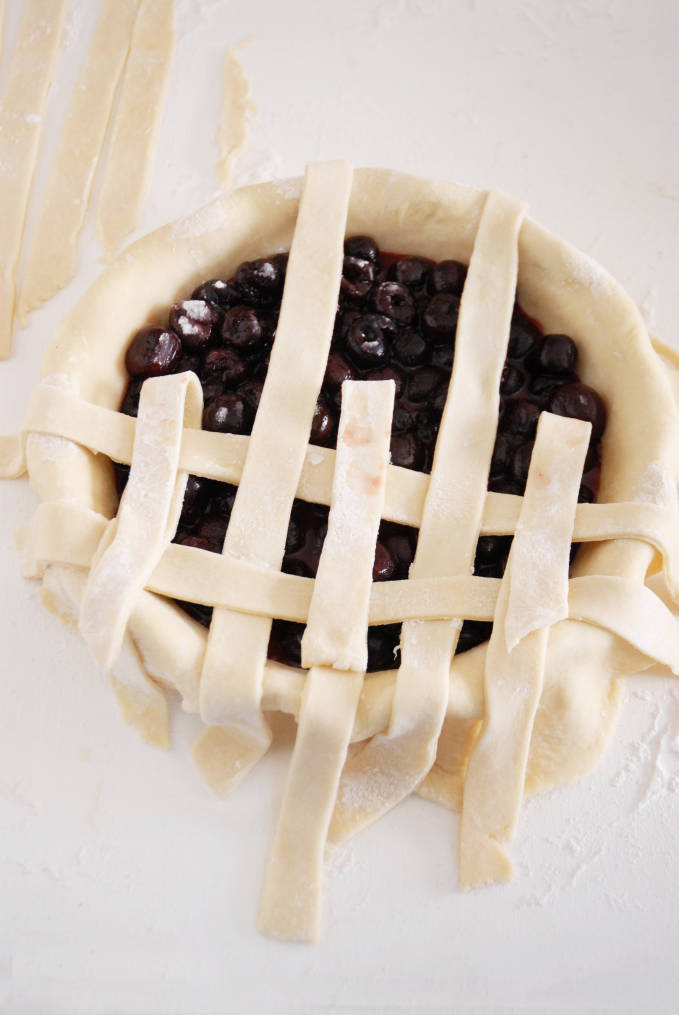
… place a perpendicular strip down …
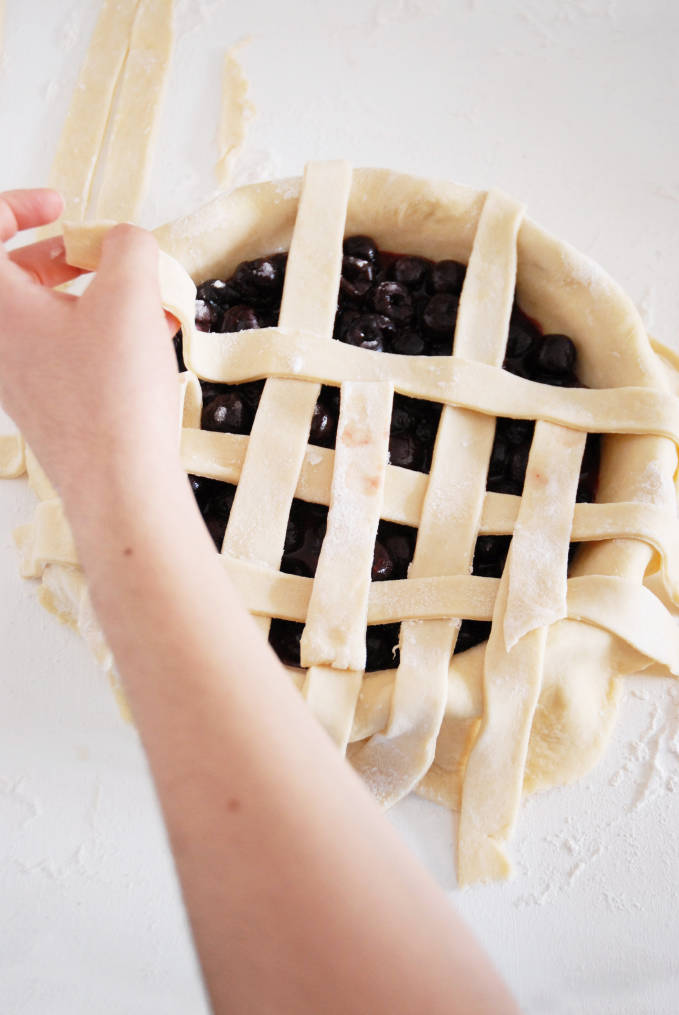
… and then unfold the strips I just folded back.
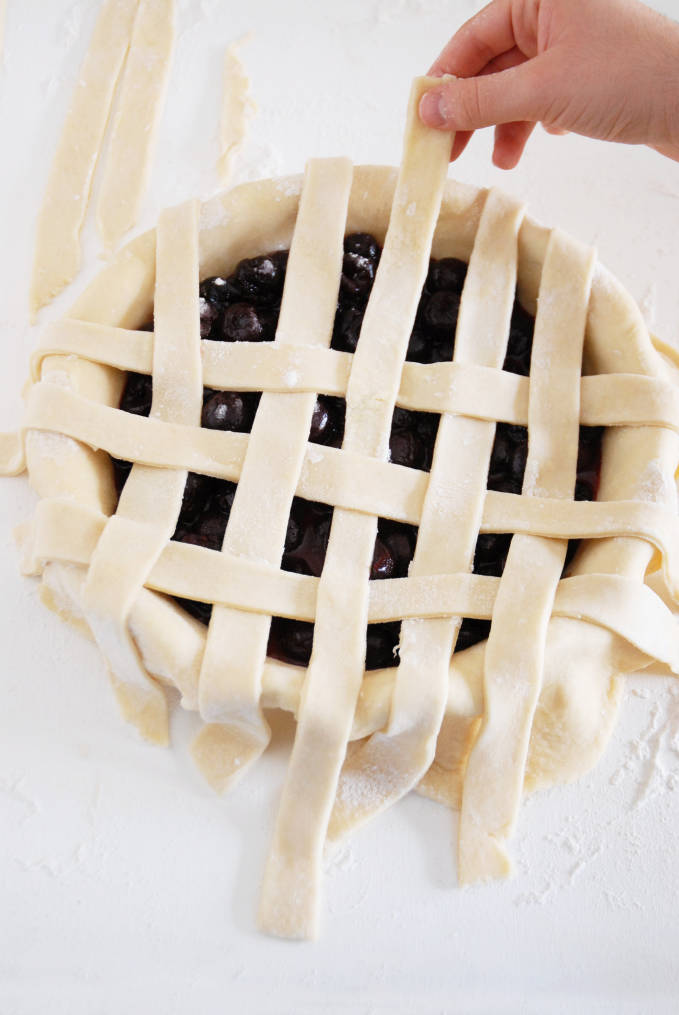
I just keep on doing this until I cover the entire pie.
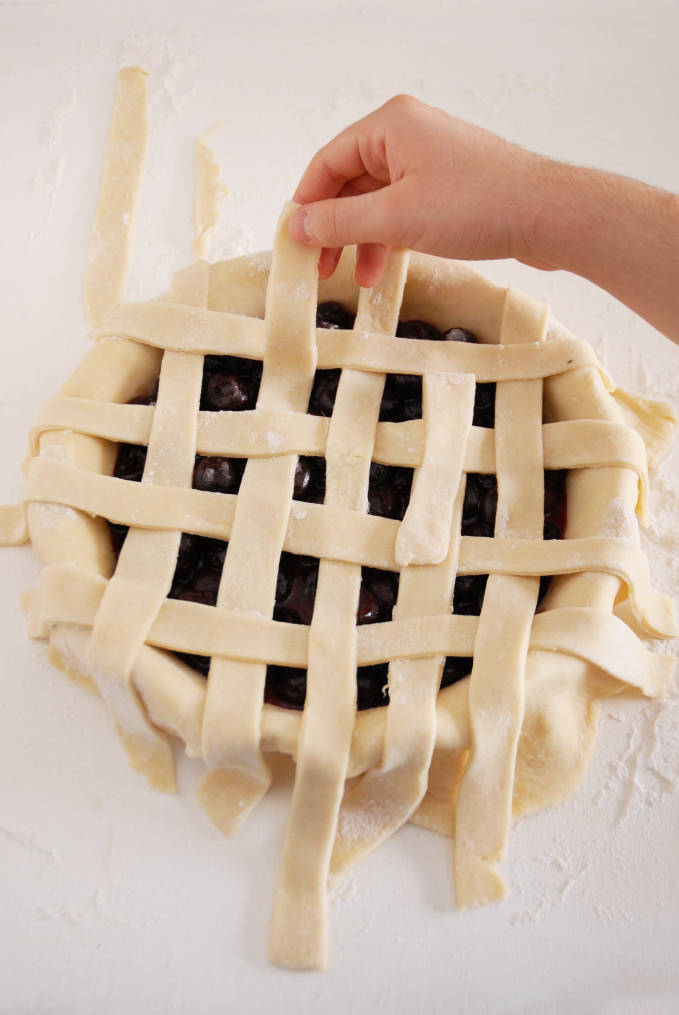
As you can see, you will end up with lots of extra dough on the sides. You might even end up with some extra strips. That’s okay.
You’ll need to clean up the edges of the pie, but luckily that’s pretty easy.
To do this, I take a pair of scissors and cut the dough around the pie, making sure to still leave some overhanging dough around the pan.
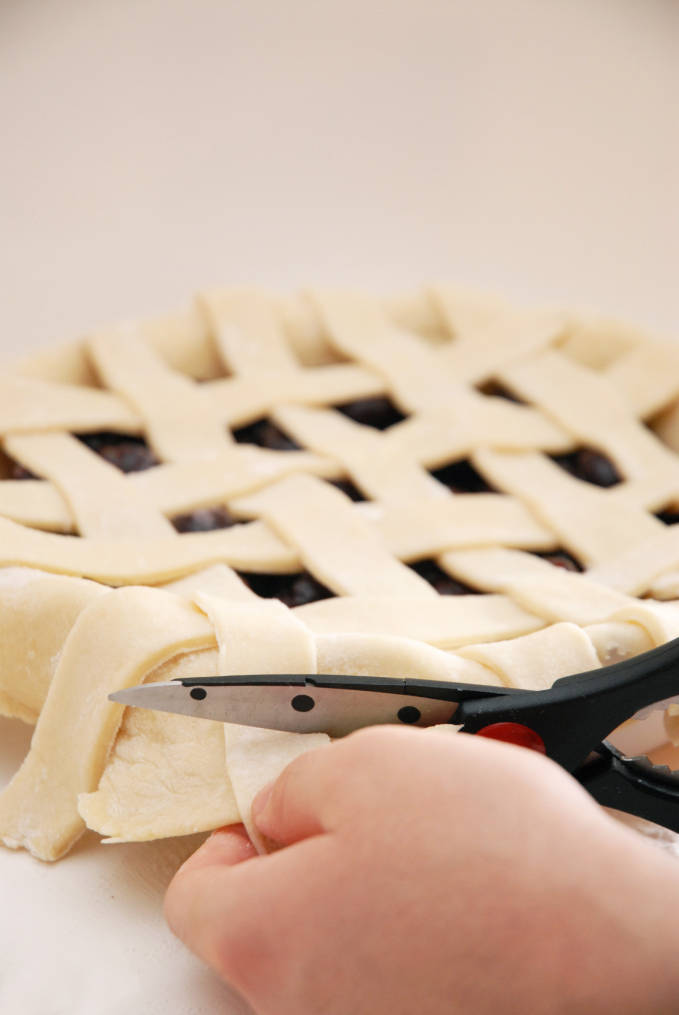
After I finish trimming the dough it looks nice and neat.
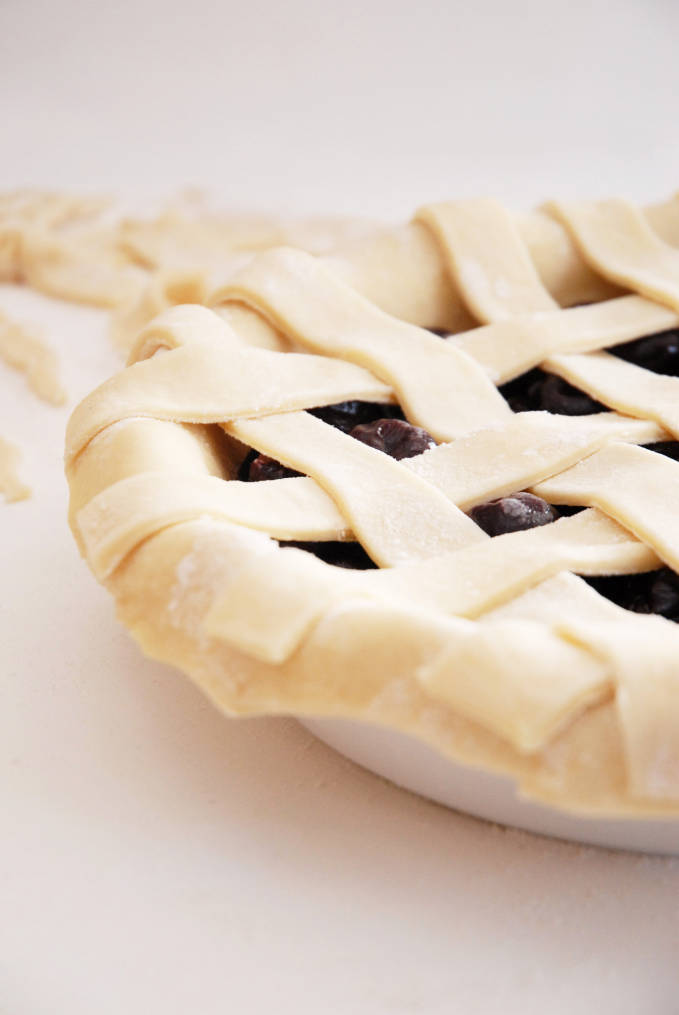
If you were to just bake the pie like this, the top and bottom layers would not stick together very well and some filling might leak out. In fact, your pie could very easily fall apart while dishing it out. To prevent this from happening, I take the bottom layer of dough and fold it over the lattice strips at the edges.
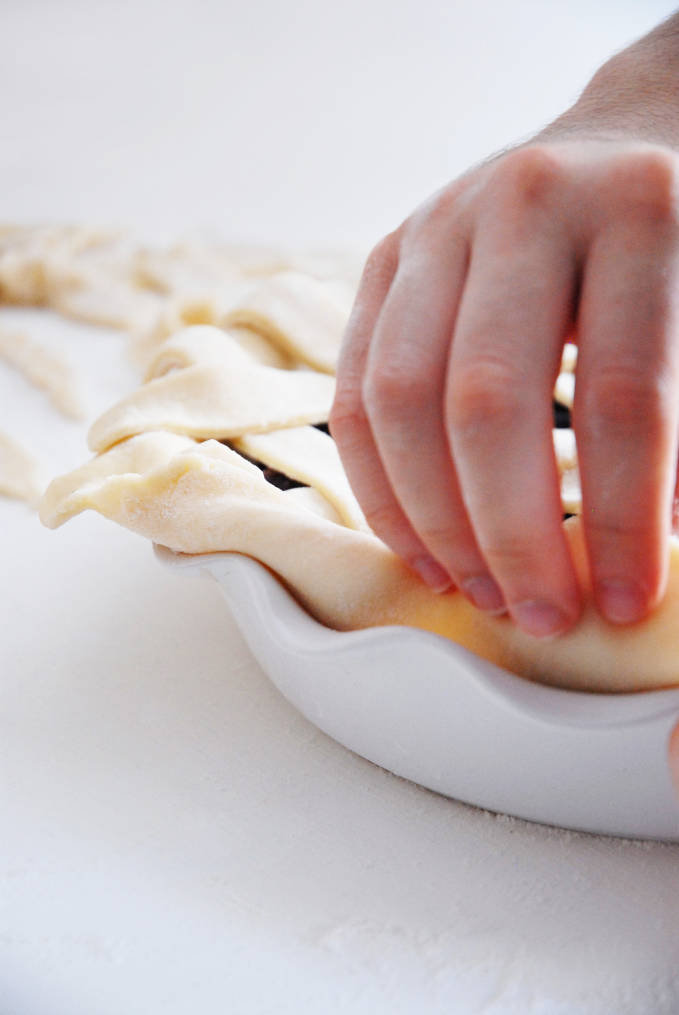
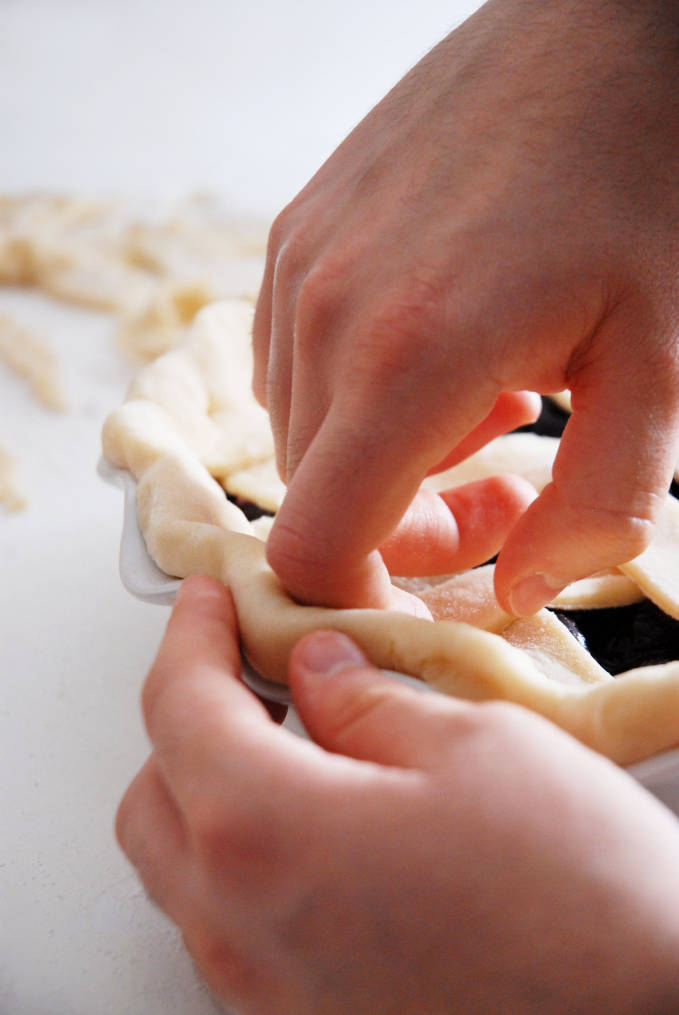
I also like to “crimp” the edges of the pie, which is a technique that pushes the layers of dough together to prevent them from opening up in the oven. I take my thumb and index finger and hold the dough, and then with the joint of my other index finger I press the dough between my two fingers. You can see me crimping the dough in the photograph below.
Afterwards, I brush the pie with an egg wash to help get it a nice golden brown colour in the oven. I like to use one egg beaten together with a splash of heavy cream for the egg wash. Using heavy cream helps in achieving a darker shade of brown than if I just used milk.
A sprinkling of sugar never hurts either!
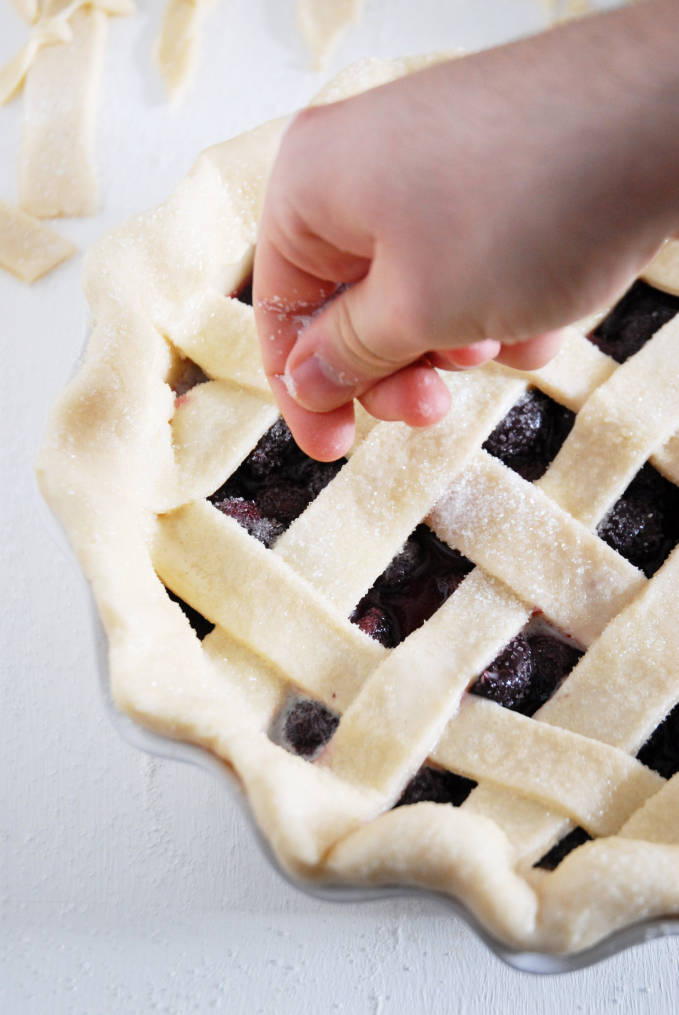
At this point, your pie is ready for baking. I hope you’ll try making your very own lattice pie crust. They can be so pretty!
Do you make lattice crusts at home? Or do you prefer to just throw a layer of dough over your pie?
Liked this tutorial? Read another one!
SUCH a helpful tutorial!!! Pinning it! :)
This is a great step by step..!!! Love the photos.
This tutorial is great, I love when there are lots of photos!!
That’s exactly how I do it too – but I don’t do it often enough as I’m starving (possibly) and this pie would make all the difference. It’s really beautiful!
What a great tutorial Ilan, the lattice is a lovely way to finish off a pie. Your crust looks so flaky, I’m going to check out the recipe.