Have you ever had a peanut butter cup before? Slightly crunchy peanut butter encased in a milk chocolate shell is magical. In fact, Reese, the largest producer of peanut butter cups in the world, has made millions of dollars from the concept.
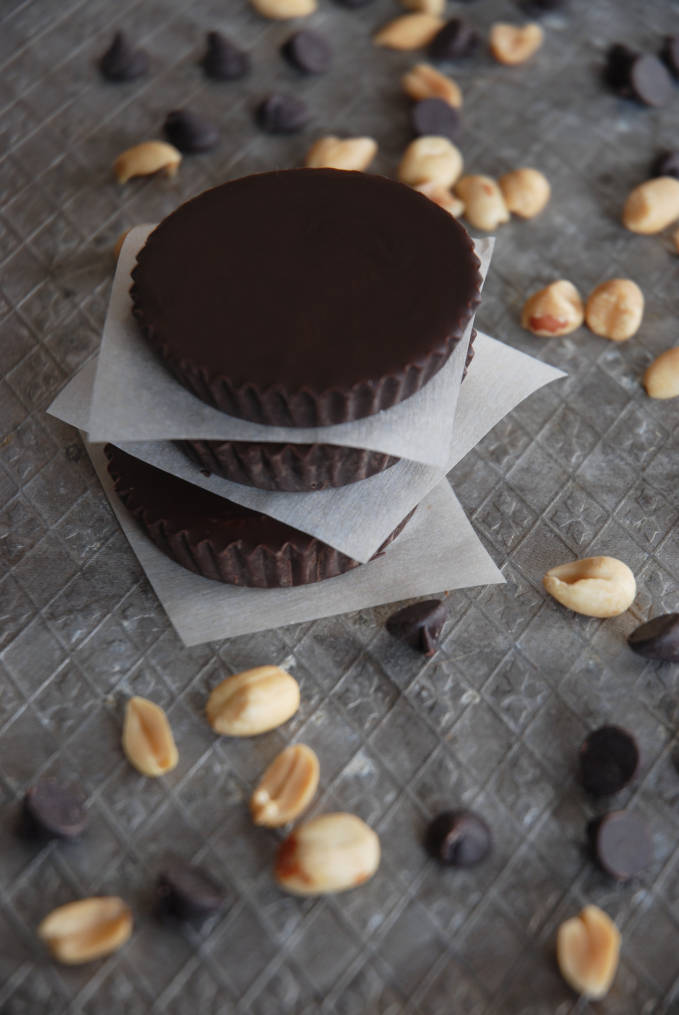
How do they make them though? How does their peanut butter have that slight crunch without any visible pieces of peanuts? How do they get the peanut butter in the chocolate? And, most importantly, how can you do all of that at home?
The easiest way, surprisingly, to eat peanut butter cups at home is to buy them (and then eat them at home).
This recipe is not an improvement on the peanut butter cup, because frankly it’s already pretty amazing. This recipe is a clone that you can make at home whenever you want peanut butter cups and can’t be bothered to run to the store and instead figure you should spend an hour making peanut butter cups. This recipe is perfect for whenever that happens.
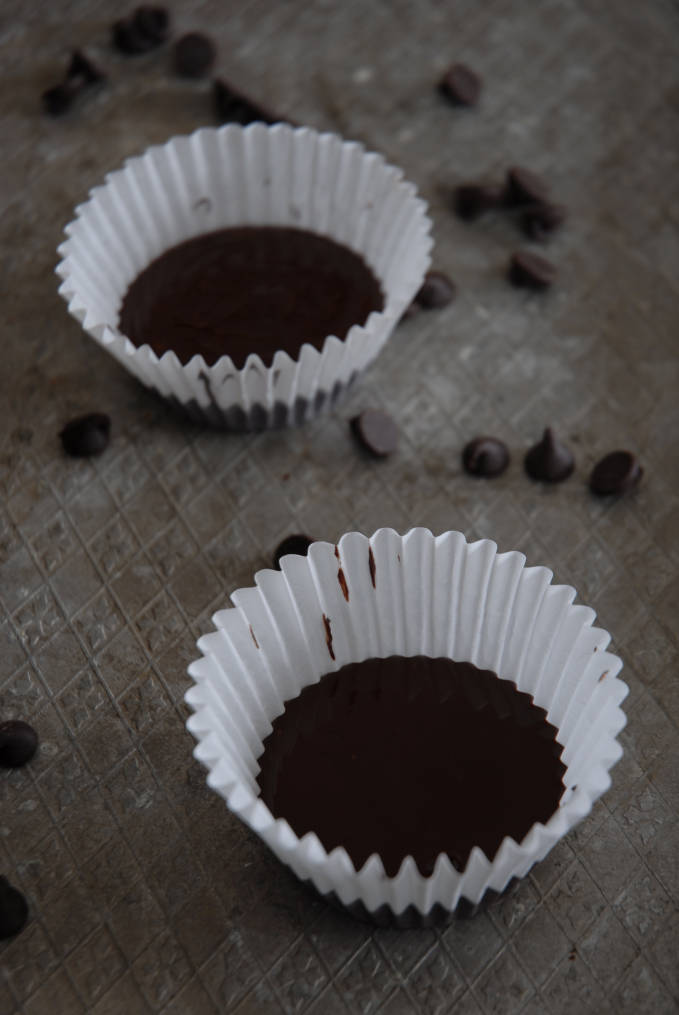
The first step is getting a cupcake liner. That’s the easiest way to get those characteristic groves on the sides of your peanut butter cup. Take some of your favourite chocolate, temper it, and add about a teaspoon of it to the bottom of a cupcake liner. You can still make these without tempering the chocolate but you’ll have to always keep them in the fridge.
Congratulations, you’ve now made the bottom layer of your peanut butter cup. Now you must make the peanut butter!
The peanut butter is surprisingly complicated. The peanut butter in the Reese’s cups isn’t exactly smooth but it isn’t exactly crunchy. It’s a strange mix of the two. A lot of copy cat recipes suggest adding in ground up graham crackers to store-bought smooth peanut butter, and you can certainly do that, but it won’t be exactly the same.
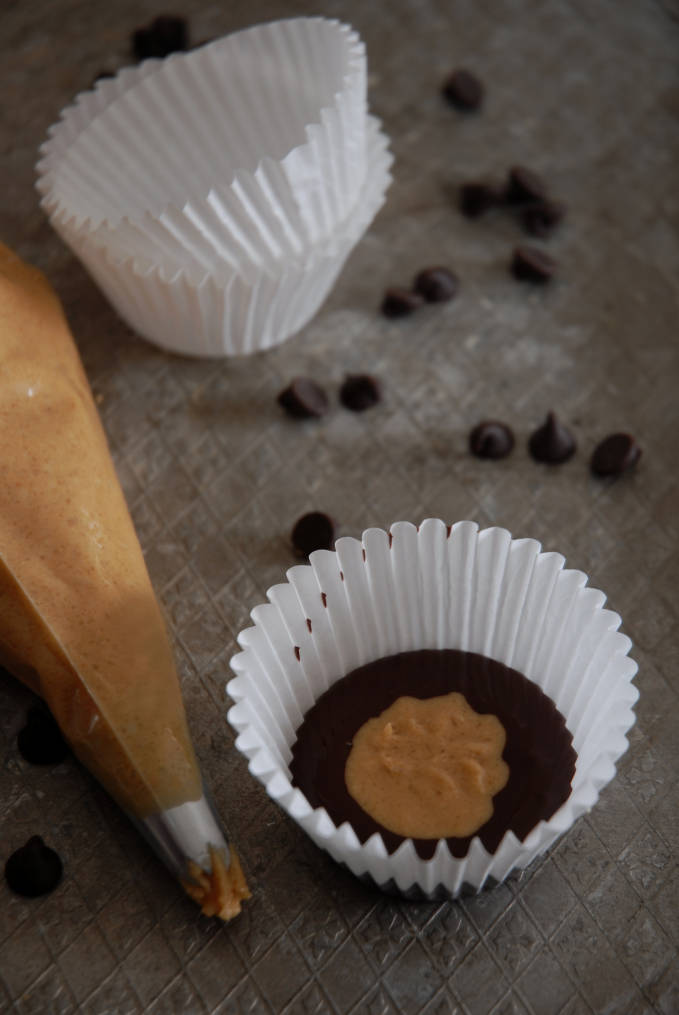
The trick is to cover peanuts in caramel and then grind them up and add that to homemade peanut butter. Peanuts and caramel. Doesn’t that just sound so much better then the store-bought stuff, even though it’s more complicated? So that’s what you do to get that crunchy texture that’s not really crunchy. Really fine caramel dust is the answer! Take a piping bag and pipe the peanut butter into the center of the chocolate layer, and then use your finger to smooth any peaks in the peanut butter.
Pour a little bit of chocolate on top.
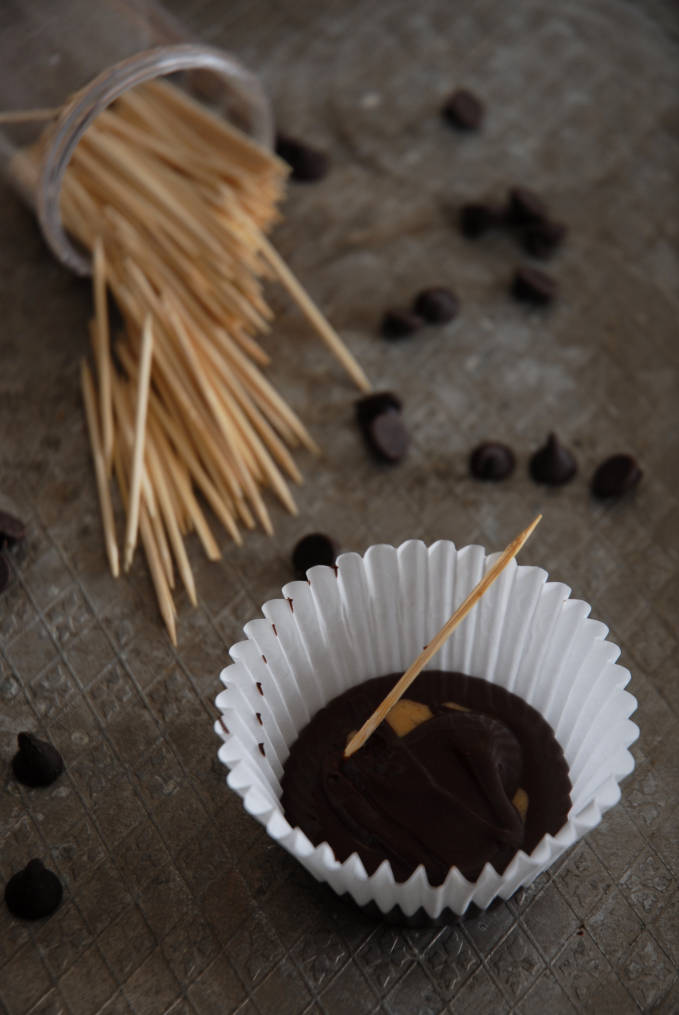
If your chocolate is very thick, use a toothpick to spread it so that it completely covers the peanut butter.
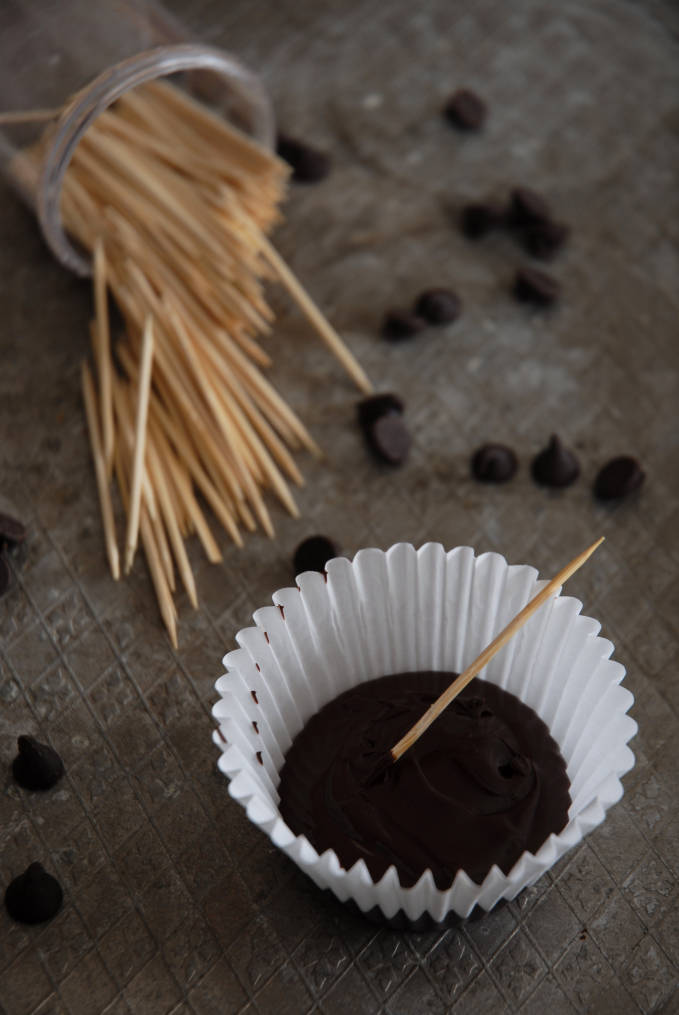
Wait for the chocolate to harden, and then they’re ready to eat! They taste exactly like the Reese’s peanut butter cups if you don’t put in a lot of chocolate. The key to an excellent imitation is a very thin layer of chocolate.
Remember, if you don’t temper your chocolate you must keep the cups in the fridge. Or suffer the consequences. There won’t really be many consequences except them melting and you crying, but you will be forced to suffer those!
Merry Christmas to everyone celebrating, and happy festivus to the rest of us.
- 1 cup (200g) sugar
- 3 tablespoons (40ml) water
- 2 tablespoons (30ml) corn syrup
- 1 + 1½ cups (150g + 200g) roasted peanuts
- 1 teaspoon coarse salt
- 400g of your favourite chocolate, tempered
- Line a baking sheet with parchment paper. Mix the sugar, water, and corn syrup in a pot and cook until the hard crack stage, where the sugar becomes light amber at 300°F. Mix in one cup of the roasted peanuts and then pour the mixture onto the parchment paper, spreading it. Let it cool to room temperature. In a food processor, grind the remaining peanuts on high speed until a paste forms (about three to five minutes) and then mix in the salt. Break the caramelized peanuts into small chunks (I do this by covering the peanuts with parchment paper and bashing the slab of caramel with a hammer) and add the chunks to the peanut butter in the food processor. Process completely in the food processor until no chunks remain. Add more salt if necessary.
- Add about a teaspoon of chocolate to the bottom of a cupcake liner. Using a piping bag with a large tip, so that caramel chunks don't get stuck, pipe the peanut butter directly to the bottom of the chocolate. Use your finger to pat down the peanut butter and cover with some more chocolate. Place the cupcake liners on a baking sheet and hit the pan against the counter a few times to level the chocolate and get rid of any bubbles. If you didn't temper your chocolate, you must keep the peanut butter cups in the fridge. Avoid touching them with bare hands since you'll leave fingerprints and people will be suspicious as to who touched their chocolate.
I love these! And a great tutorial on how to make them. Although honestly, I think I’d be inclined just to go buy some. ;-) But great recipe, and very well explained. Do you ever temper your chocolate in the microwave? Easier than the stove top, IMO. Merry Christmas and Happy Festivus!
I don’t temper my chocolate in the microwave since I worry it will burn. I’m going to try it out again though!
As soon as I saw the first picture my jaw dropped. I love peanut butter cups! They are so delicious. Great job!
Omg! My mom says I’m crazy for loving peanut butter cups! Now I know how to make them! Thank you so much!
homemade peanut butter cups?? AMAZING!!
This is really one if our favourite candies, and I bet this version tastes a billion times better than the store bought. I wasn’t going to bake in the new year but I may have to try this recipe after all. Happy festivus to you too!
You’re amazing. This is my favorite candy and I am so blown away by your homemade version!
These look amazing!!
Fantastic photography Ilan. I am excited to try this one. I too prefer to temper the chocolate over the double boiler. I have used the micro many times for small amounts of chocolate to drizzle, but find for working larger batches the double boiler works best.
Wow, this looks amazing! I saved it, and am definitely making it soon!
Looks like we found our treat to make this weekend! This looks great!