Gingerbread cookies became popular under Queen Elizabeth I who gifted gingerbread men (human shaped gingerbread cookies) to foreign dignitaries. Every dignitary would receive a cookie that was supposed to look just like them. Really demanding for the royal pastry chef, eh?
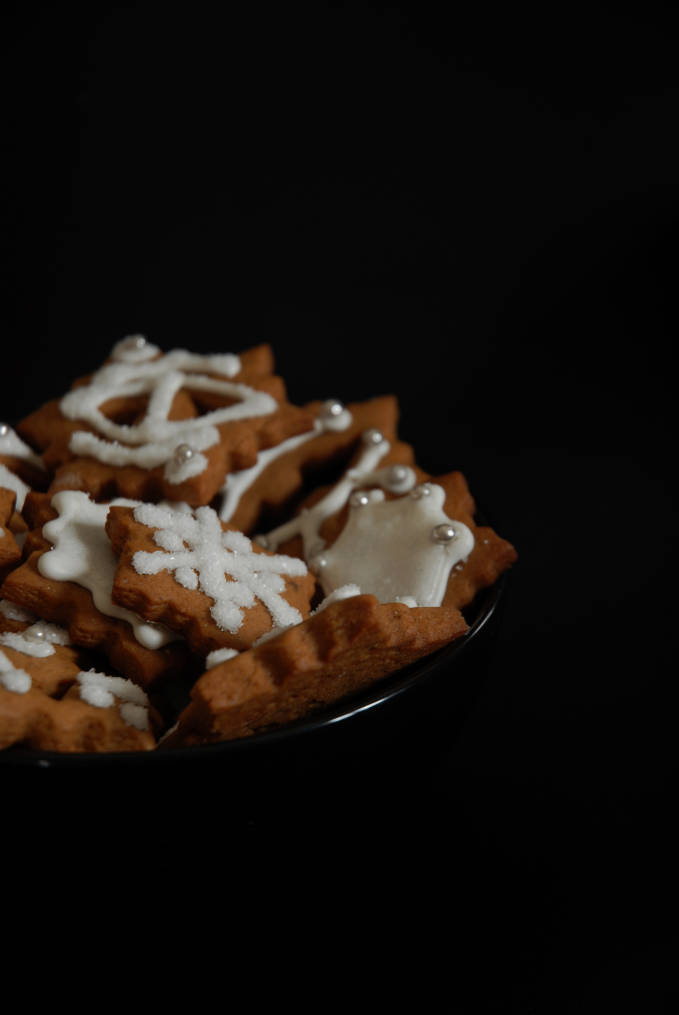 Gingerbread is eaten a lot during the holiday season and has been associated with Christmas celebrations. If you want perfectly chewy gingerbread cookies, with a touch of crunch, this recipe is a great place to start. Throughout this tutorial I’ve included suggestions to either spice up the recipe (for a more in-your-face flavour) or tone it down if you’re planning on serving these to kids (or dogs – dogs like gingerbread).
Like in all the other tutorials on this website, I’ve tried to include step-by-step instructions along with photographs. I have, however, omitted photographs for steps like “softening the butter” since all you do is leave your butter out on the counter. Don’t worry though, I still have written instructions for that!
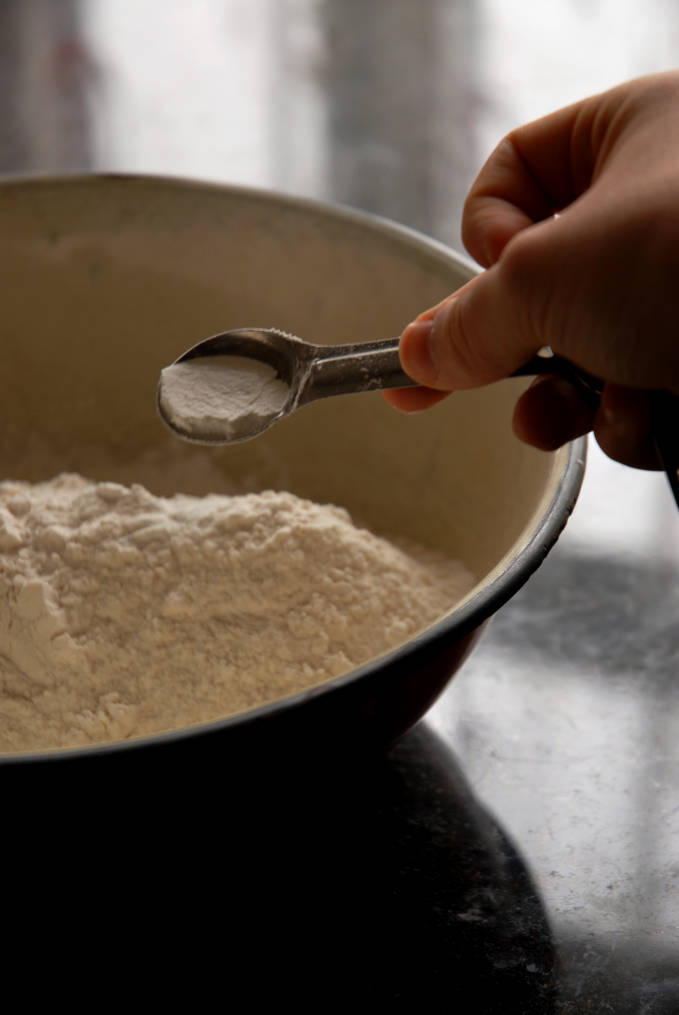
The first, and arguably second most important ingredient (ginger is likely the first – although it’s up for debate) is flour. Six cups of regular, all purpose flour works well for this gingerbread recipe.
Add in one teaspoon of baking powder. If you don’t care about how your cookies are shaped, then you can add up to another half teaspoon of baking powder if you’d like for them to rise a little bit more. If you’re cutting out cookies that don’t have intricate details, a teaspoon of baking powder is what you need. However, if your cookies have really intricate details, you may want to not include any baking powder at all so that the cookies keep their shape.
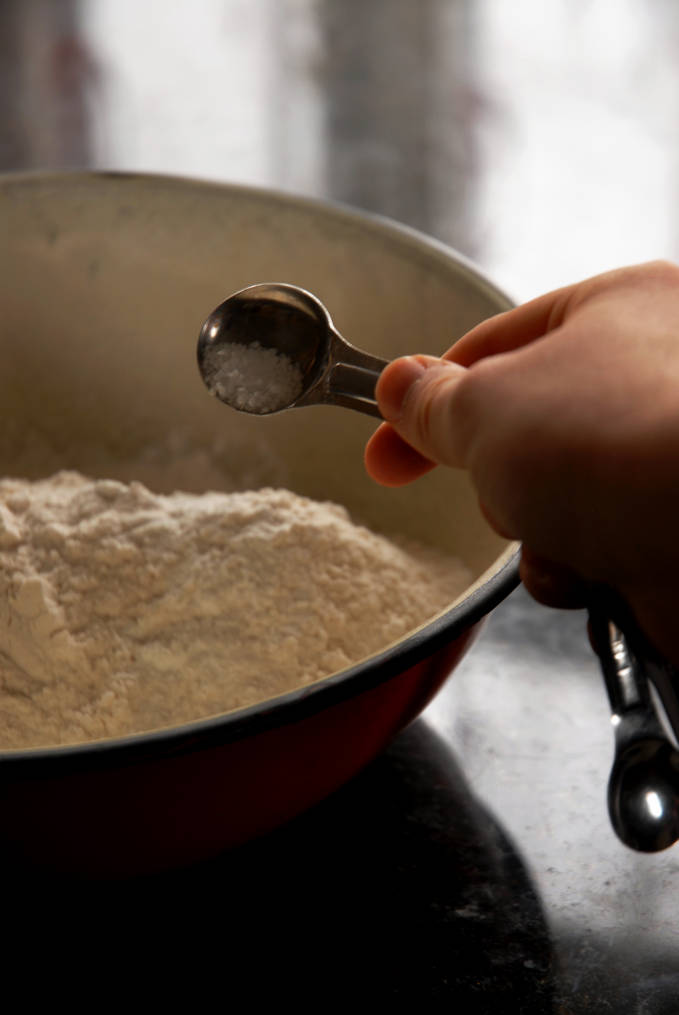
A teaspoon of coarsely ground salt really compliments the spices in this recipe. Whisk all the dry ingredients together in a bowl.
Brown sugar (Muscavado sugar) is used for this recipe since it already contains molasses. Brown sugar is really just white sugar with molasses. When you measure a cup of brown sugar you’ll need to “pack” the sugar into your measuring cup. That means you should get a spoon and push the sugar into the cup so that you can fit in as much as possible. Cream this brown sugar together with one cup of unsalted butter that has been brought to room temperature. To bring your butter to room temperature leave it out… in a room. Yeah, I really feel that instruction is necessary. Don’t microwave your butter!
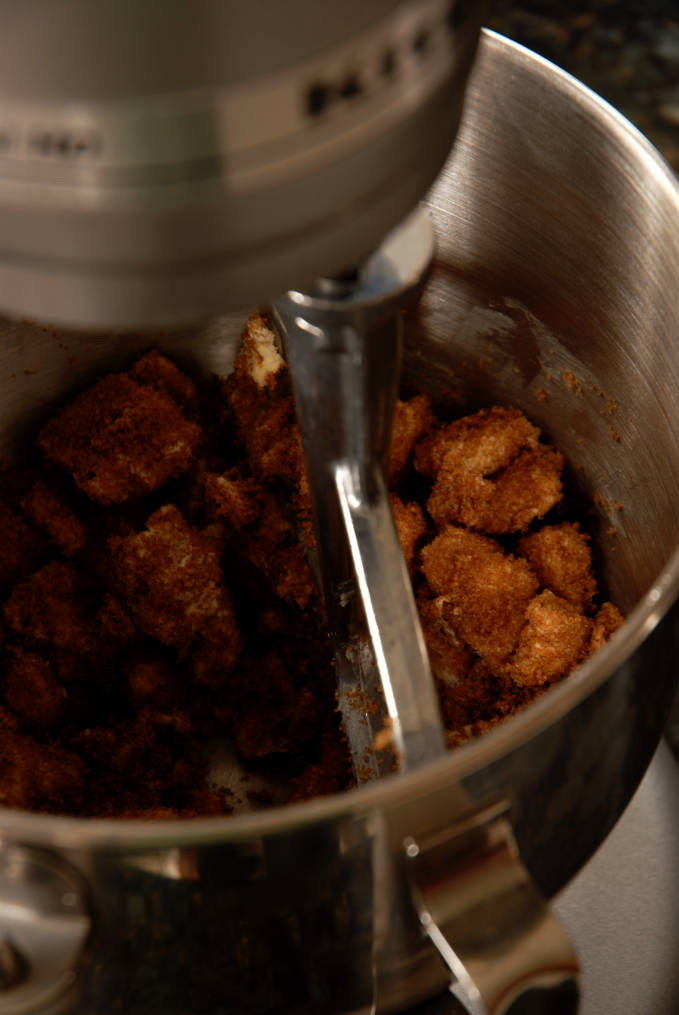
You want to cream your butter and sugar until it’s light and fluffy. What does that mean though? No matter how long you beat the butter and sugar together their mass will essentially be the same. Unless, of course, you’re using a really high speed and some flies into your face. Yummy?
Light and fluffy really means less dense. You want the volume of the butter and sugar to increase.
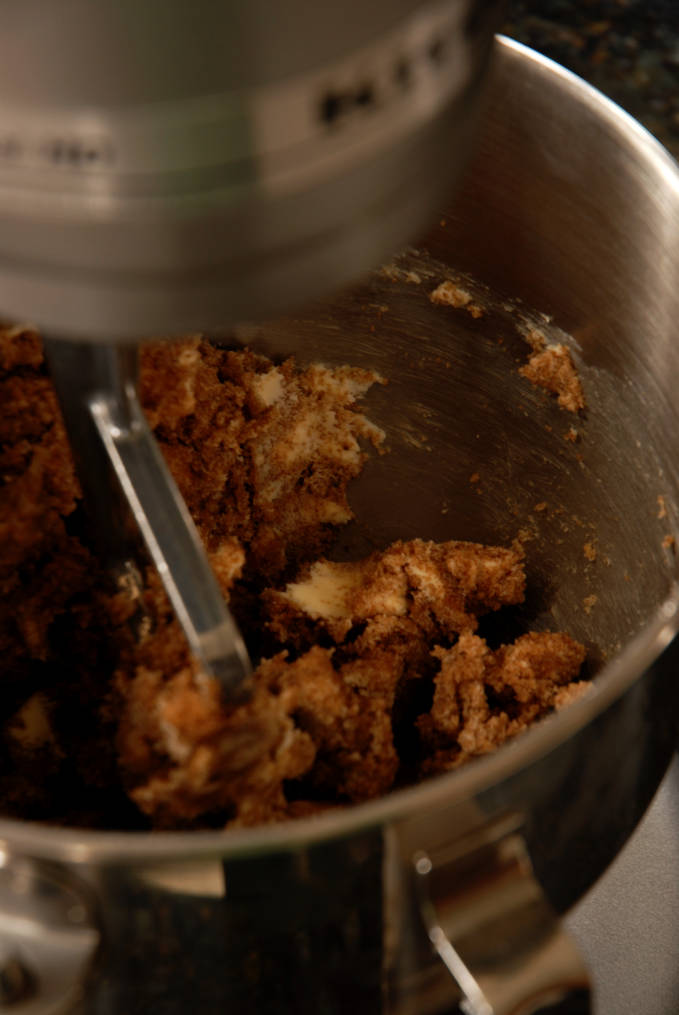
You also want to make sure that the butter and sugar are well combined.
It’s best to use the lowest speed on your mixer or a wooden spoon to cream everything together. Your goal is to introduce air, but not a lot of air. When the volume increases it’s because air is being incorporated. However, if you mix on a really high speed, air will get incorporated too quickly and things just don’t work out as nicely.
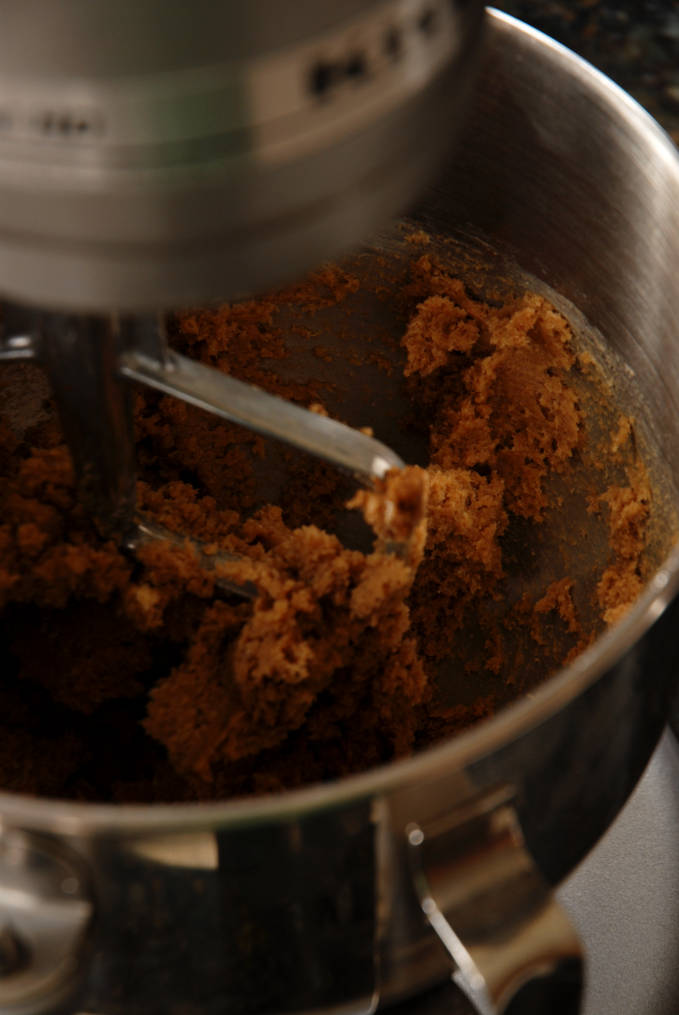
Almost there…
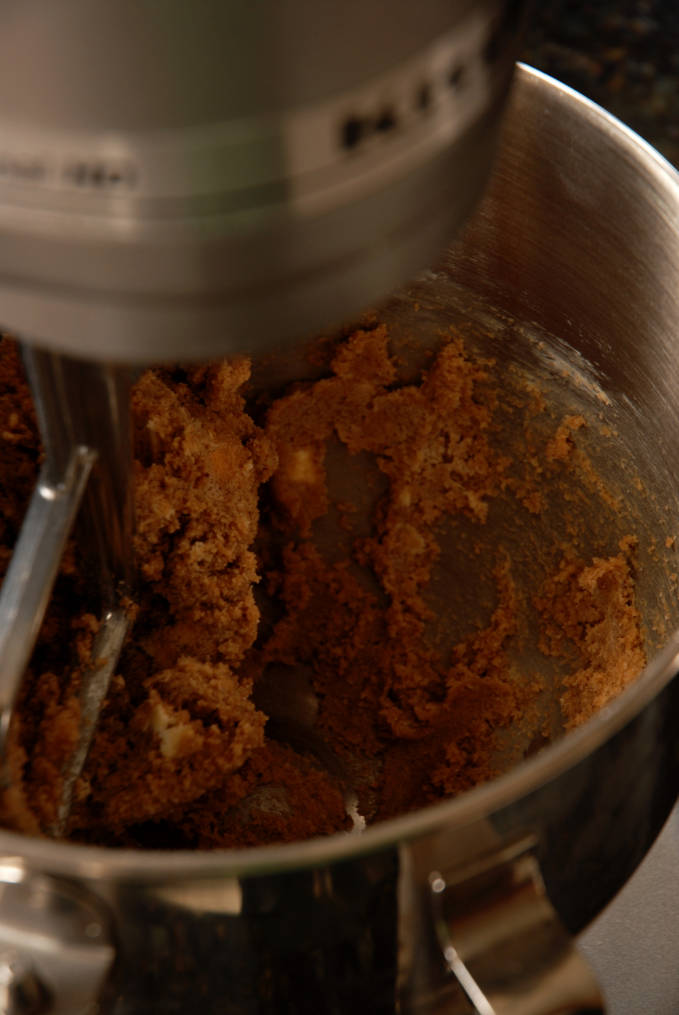
Once the butter and sugar are creamed together, you get to add in the spices. For this base recipe I like to use one tablespoon ground ginger (this isn’t fresh ginger), one tablespoon ground cinnamon, half a teaspoon ground cloves, and half a teaspoon ground nutmeg. If you want to spice up your cookies you can double the ginger and also add a teaspoon of black pepper. The spiciness from the pepper compliments the ginger well. If you’re making a gingerbread house, doubling all your spices is a good idea since your house will give off a nice smell when it sits on your table, or counter, or wherever you decide to keep your gingerbread house. If you want to tone it down, just reduce the spices to levels you’re comfortable with.
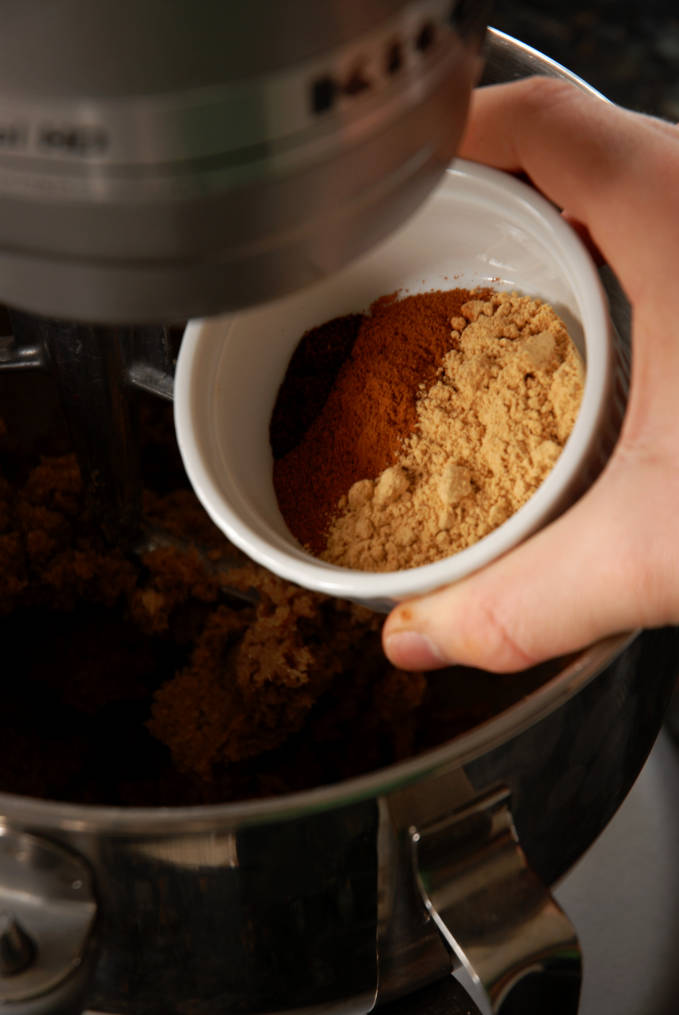
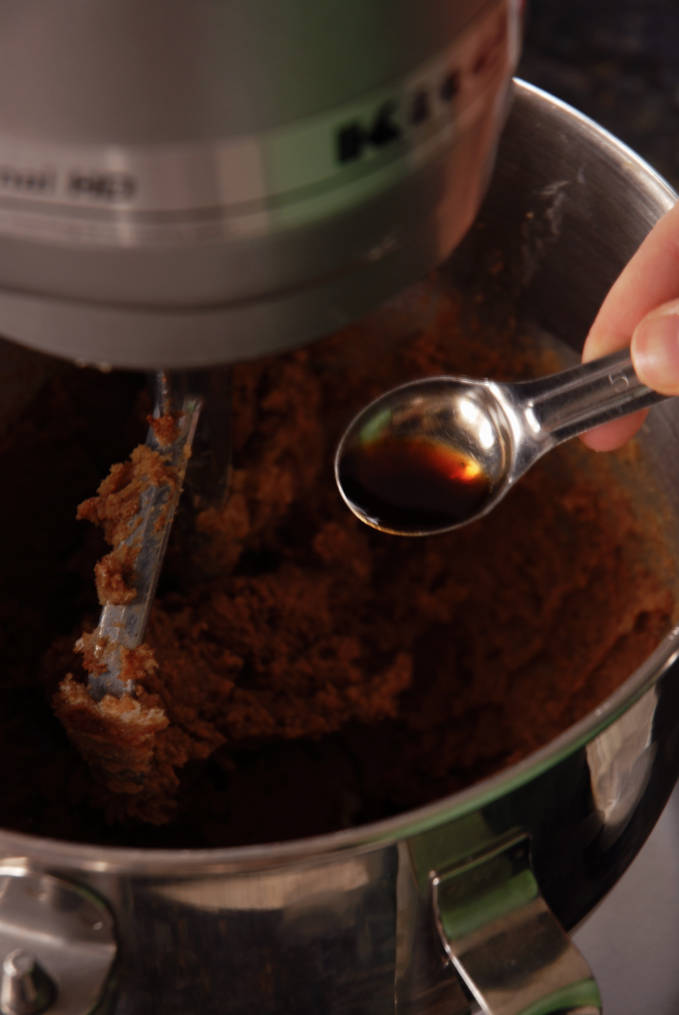
After you mix in the spices add in a teaspoon of vanilla extract. Why? No reason, really. It’s kind of a habit. Feel free to not add in any vanilla.
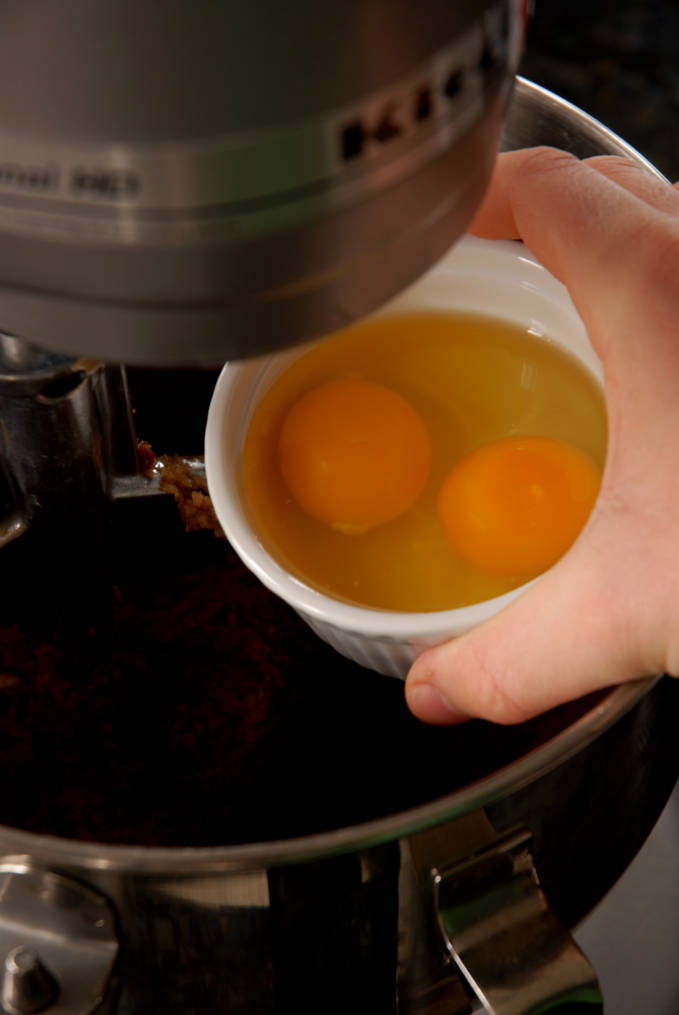
Add in two eggs. Mix, mix, mix!
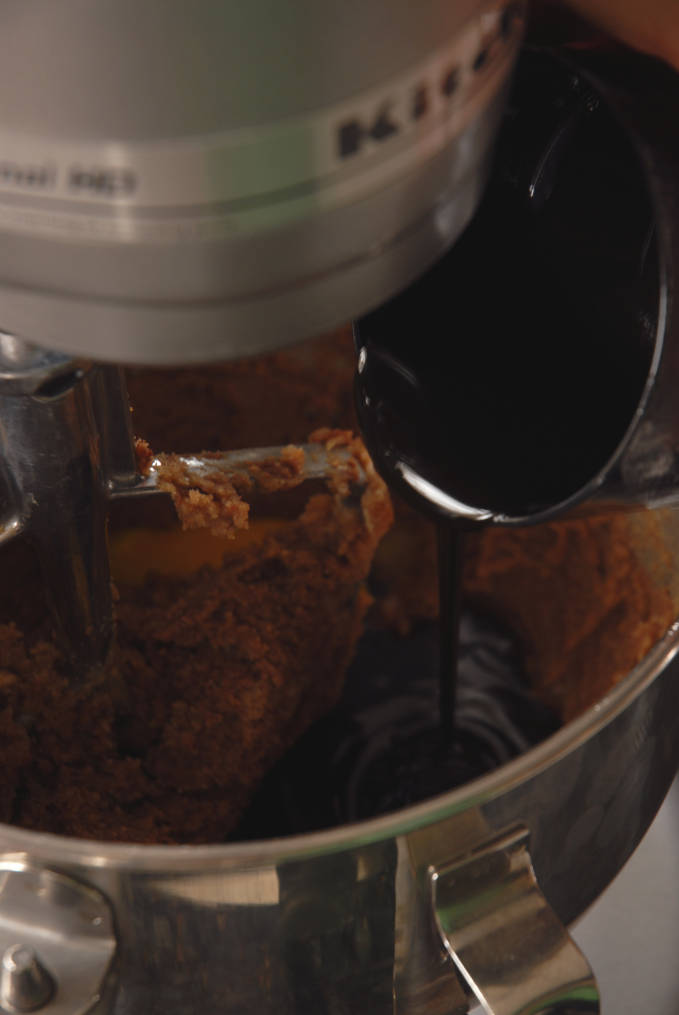
Next up is molasses! Sweetening gingerbread cookies with molasses instead of just sugar gives them a unique flavour. Molasses is a by-product of extracting sugar from sugar cane and gives gingerbread cookies a very exciting flavour and their distinctive brown colour. The type of molasses you use can drastically change your cookies’ flavour. Choose the molasses that’s right for you. Your options are… dun dun dun:
Treacle
This isn’t really molasses, so I’m not really sure why it’s first on the list, but treacle is a syrup made when sugar is refined. It will give your cookies a lighter colour, but still a great flavour!
Fancy Molasses
Fancy molasses is not a by-product of refining sugar but is instead a direct product of sugar cane. This is the type of molasses I generally use since it works well in many recipes.
Blackstrap Molasses
This molasses is a direct by-product of the sugar extraction process and has a dark colour and a very robust flavour. Use it if you want really dark, flavourful gingerbread. This will not make the gingerbread that you’re probably used to.
Cooking Molasses
This molasses is a blend of fancy and blackstrap molasses. You’ll get a darker coloured cookie with this type.
Light Molasses
This molasses contains less sugar than the other types and has a significantly lighter colour. Using light molasses will make softer cookies. I wouldn’t use light molasses just to make softer cookies, though. If you want soft cookies, there are better ways described below.
Pour your molasses in and mix everything together.
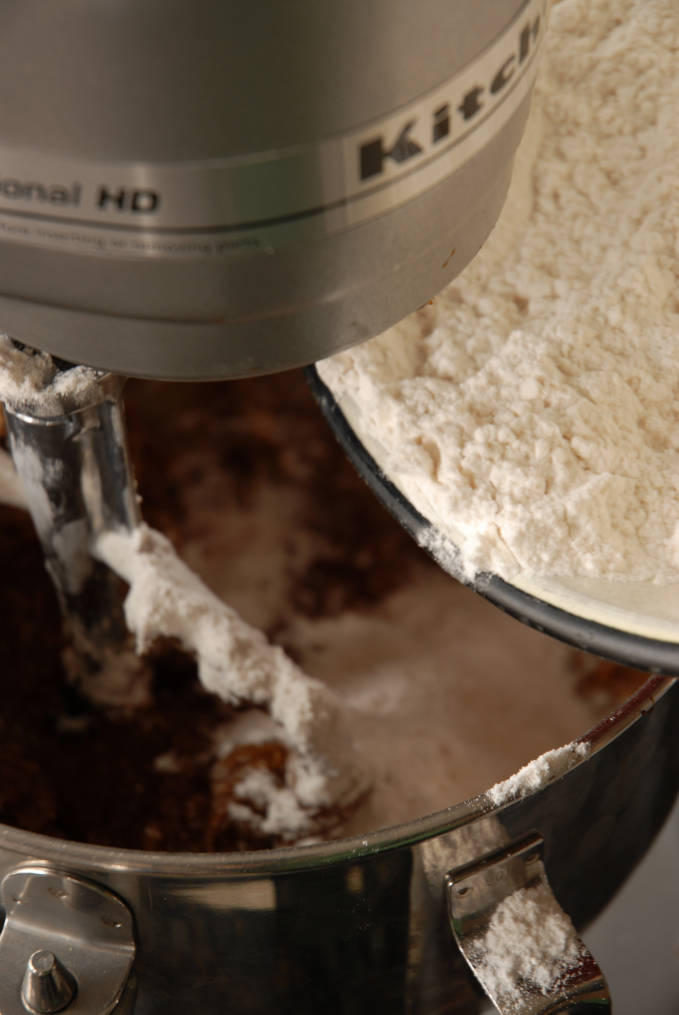
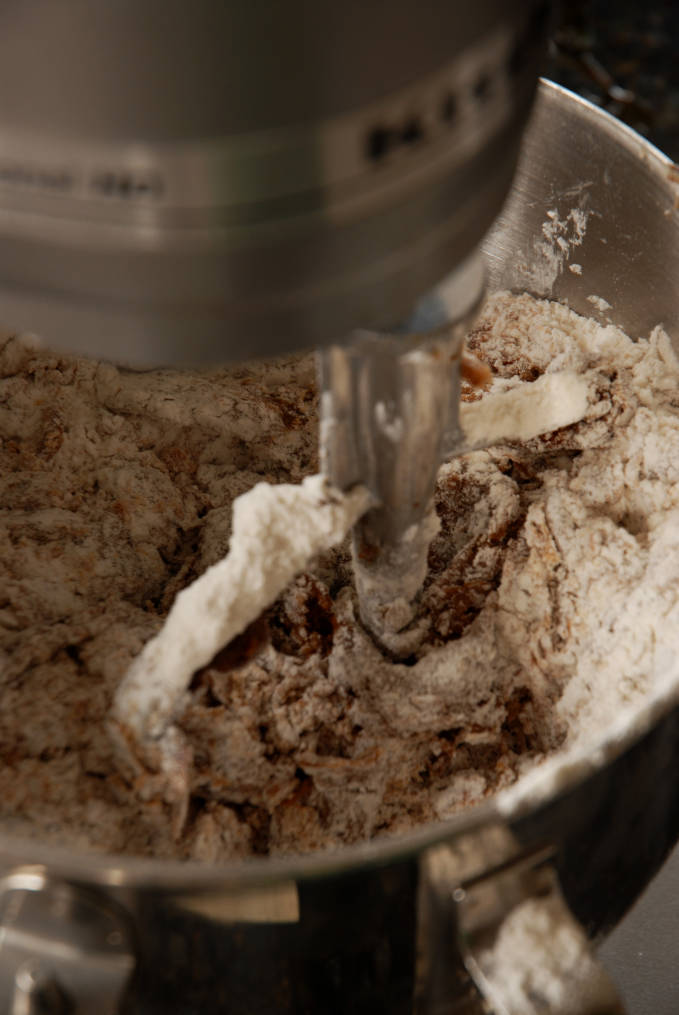
Remember that flour mixture we whisked together? Slowly add that in and mix on the lowest speed possible just until everything comes together.
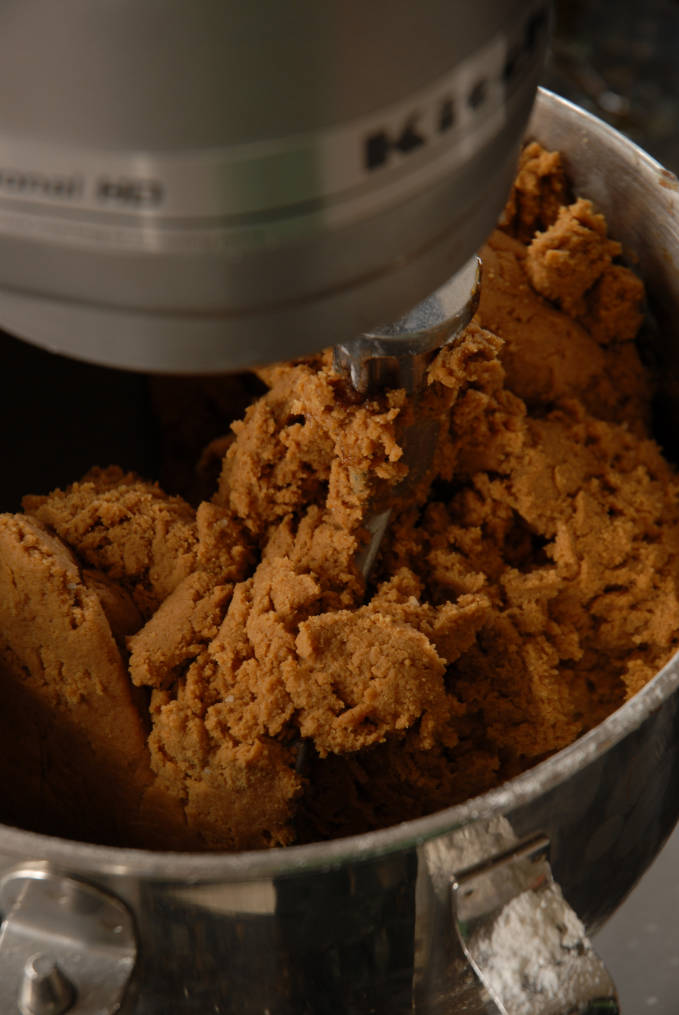
Keep on mixing. It will look perfect in no time!
There you have it. Perfect gingerbread dough! Divide the dough into thirds and wrap each third in plastic. You want to refrigerate it until the dough is cold and firm, which can take about two hours. Keep the dough in the fridge for up to two days, or frozen for a few months.
Roll out the dough on a lightly floured surface, and cut out your cookies with cookie cutters. Roll the dough to about 1/4-inch (~0.6cm) thick for slightly chewy, slightly crunchy cookies. If you want chewier cookies, roll the dough out a little bit thicker. For crunchier cookies, roll it a little bit thinner.
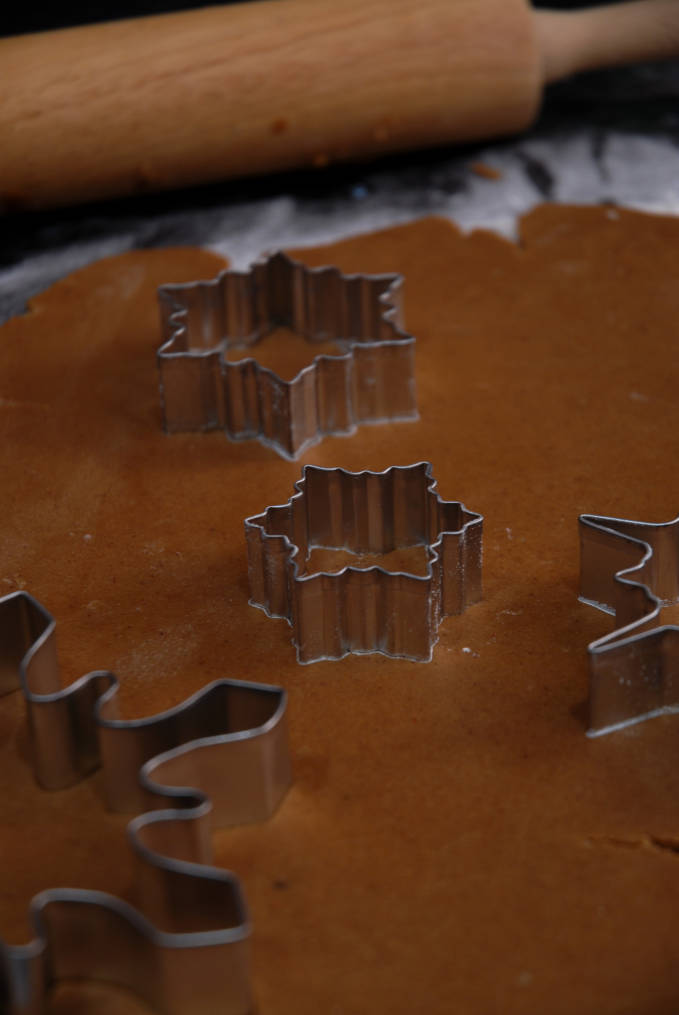
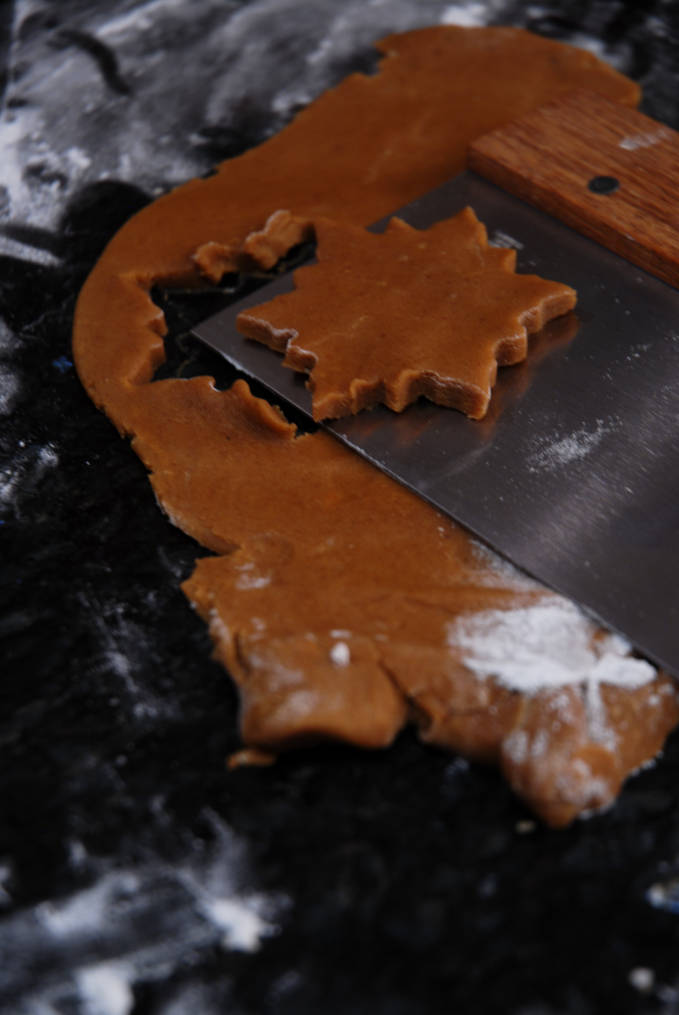
The dough doesn’t stick as long as it’s fairly cold, so if you need to roll it out again and the dough is sticking put it in the freezer for a few minutes to chill it down. If you’re cutting out intricate shapes, you can use a bench scraper to transfer the cookieson to a cookie sheet lined with parchment paper or you can cut the cookies out straight on the cookie sheet.
Place the cookies into the fridge for at least half an hour before baking so that when the cookies bake they don’t lose their shape. Meanwhile, preheat your oven to at 350°F.
Bake the cookies for eleven minutes for chewy cookies, eleven and a half minutes for crunchy and chewy cookies, and up to thirteen minutes for crunchier cookies. Let the cookies cool completely and then dig in! You can also decorate the cookies with royal icing if you’re feeling artsy.
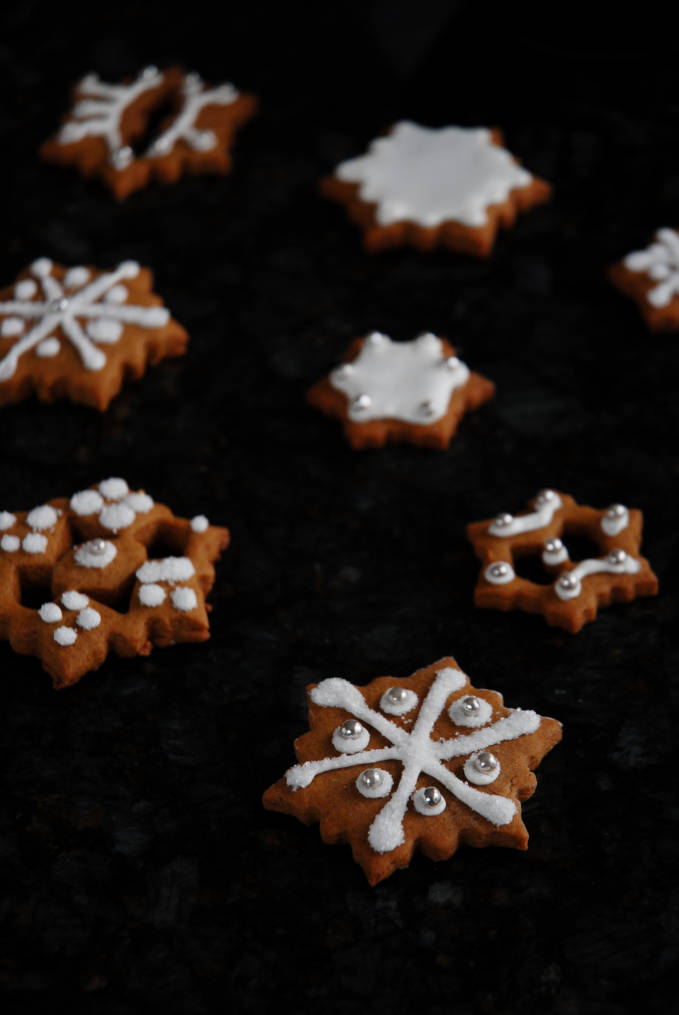
To make royal icing beat two egg whites with a quarter of a teaspoon of cream of tartar together until you get stiff peaks, then beat in icing sugar until you get a thick consistency. Pipe the royal icing onto your cookies and let it dry completely. If you want to fill in spaces in your cookies with royal icing, add a little bit of water to some of the icing to make it runnier. Wait for the icing to dry, and then the cookies are good to eat!
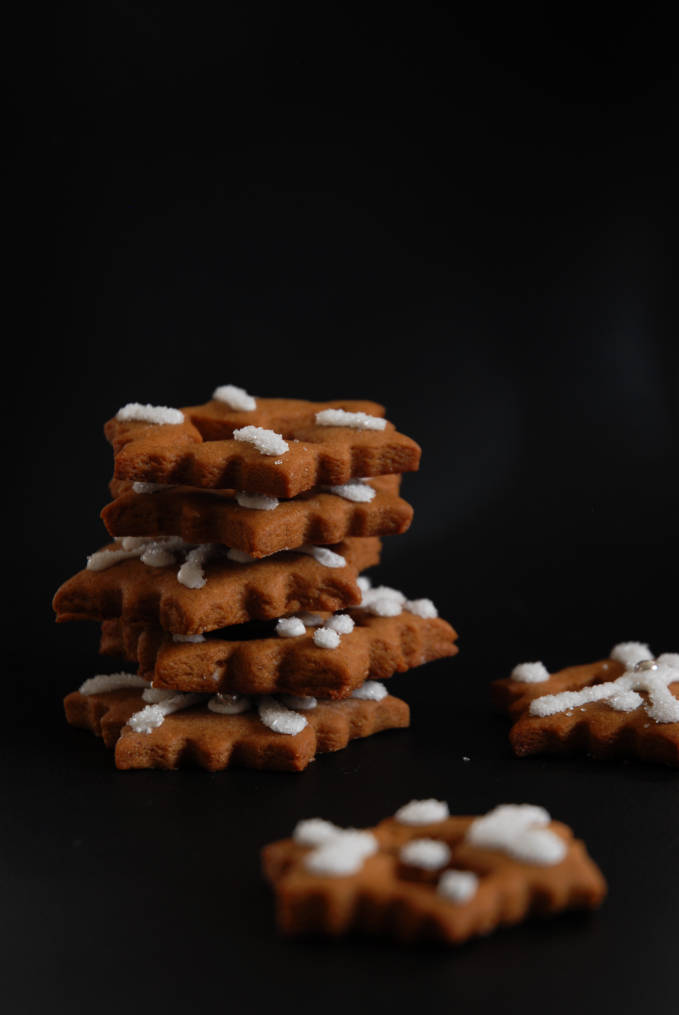
Perfect gingerbread cookies every time, guaranteed.
Liked this tutorial? Read another one!
- 6 cups (750g) all-purpose flour, plus more for your work surface
- 1 teaspoon baking powder
- 1 teaspoon coarse salt
- 1 cup (226g) unsalted butter, at room temperature
- 1 cup (200g) packed brown sugar
- 1 tablespoon ground ginger
- 1 tablespoon ground cinnamon
- ½ teaspoon ground nutmeg
- ½ teaspoon ground cloves
- 1 teaspoon black pepper (optional)
- 1 teaspoon vanilla extract (optional)
- 2 eggs
- ~1 cup (240ml) molasses
- 2 egg whites
- ¼ teaspoon cream of tartar
- ~2-3 cups icing sugar
- Whisk together the flour, baking powder, and salt in a large bowl and set it aside. Cream together the softened butter and the brown sugar until light and fluffy and then mix in the spices and vanilla extract, along with the pepper if you're using it. Mix in the eggs and the molasses. Add in the flour mixture and mix on low speed until just combined. Divide the dough into thirds and wrap each third in plastic wrap. Refrigerate for two hours, until cold and firm.
- Roll out the dough to about ¼-inch (~0.6cm) thick, or thicker for chewier cookies, on a lightly floured work surface. Cut into any shape you'd like and then place them on a cookie sheet, about an inch or two apart. Refrigerate the cookies for about half an hour, or until they're completely firm. Meanwhile, preheat your oven to 350°F and bake the cookies between eleven and thirteen minutes, depending on how crunchy you want them. Let the cookies cool completely before decorating.
- Beat the egg whites with the cream of tartar until stiff peaks form. Add in icing sugar and beat until the icing is thick. Pipe onto cookies as desired.
Perfect timing Ilan, I’m baking molded gingerbread tonight! Thanks for the tip on leaving out the baking powder, simple, yet I would not have thought about it. Since my cookies are molded, I really don’t want them to rise at all.
I didn’t know there were different types of molasses! I just thought that molasses was molasses. I want to try fancy molasses with my gingerbread this year!
Great tutorial! I love getting to see how to do things step by step! :D
Looks like some perfect gingerbread cookies! Next time I would like a time lapse of softening butter, though, please. That part of the recipe is very complicated. ; )
I was going to start off my comment with something funny but now I am laughing too hard at the request of a butter time lapse sequence. Awesome comment
First – I love muscovado sugar. That’s one of my “secret” ingredients. And now its not. Well at least not to anyone that reads your blog and sees my comment.
Second – we have the same snowflake cookie cutters!
Third – can you teach my food photography. Between those insane vanilla doughnut pics and now these? I am in awe of your talents – like always
I had no idea that Queen Elizabeth I did this…I learn something new everyday…love the look of your beautiful cookies!
Beautiful!
Very beautiful cookies. So Christmassy! Bet they are very good for this cold weather…..mmm. Thanks very much for showing the step-by-step pictures.
Gorgeous cookies! They’re decorated so beautifully as well. Thanks for the recipe!