Well, it’s officially fall. I’m not a big fan of the time between fall and summer. In summer, it’s nice and warm. In fall, there are pretty leaves everywhere (let’s just say for the sake of argument that you don’t have to pick them up). However, between the two, it’s cold and disappointing. The leaves are green but it’s still too cold to walk around outside in a t-shirt. When it finally gets a bit warmer later in the day, it starts to rain. Then it’s cold again. It’s cold and it rains. In winter, at least, it snows. Simply put, boooooo.
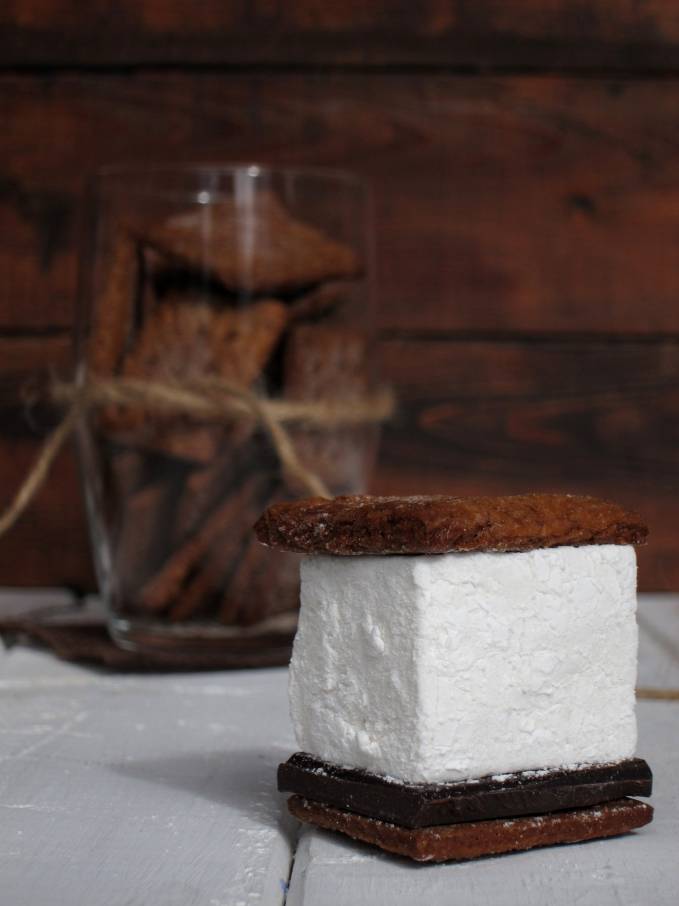
There is a solution though to my woes. It’s homemade “s’mores” (abbreviation of “some mores”) made out of freshly baked cinnamon graham crackers, fluffy vanilla marshmallows, and rich, dark chocolate. Alright, hear me out. I understand that this might seem at first to be a jump in logic since s’mores don’t really have anything to do with the seasons or anything date-related, but they really are the solution.
Once you eat a homemade s’more (or smore, if you’re not a fan of apostrophes – or is that just a phase I went through?) it doesn’t really matter what is going around you. All that matters is the crunch of the graham crackers, the fluffy marshmallow, and the melted chocolate running down your hand. To be fair though, if you eat a homemade s’more outside, in the rain, you may still be a little bit annoyed.
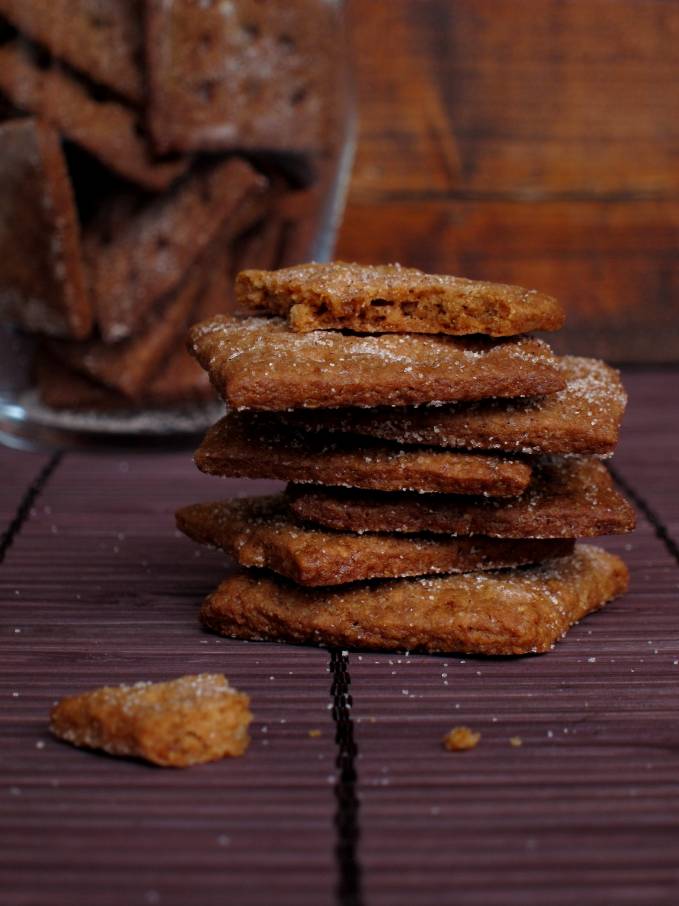
The first step to any good s’more is good graham crackers. For those of you who aren’t familiar with graham crackers, they’re not really “crackers” at all. They’re more of a sweet, crunchy cookie. I’ve got to be honest: I made these graham crackers and I thought they were alright. I didn’t think they were anything special. I mean, they were quite good, but they weren’t amazing. They had a pretty good cinnamon sugar coating and a nice crunch and colour, but meh.
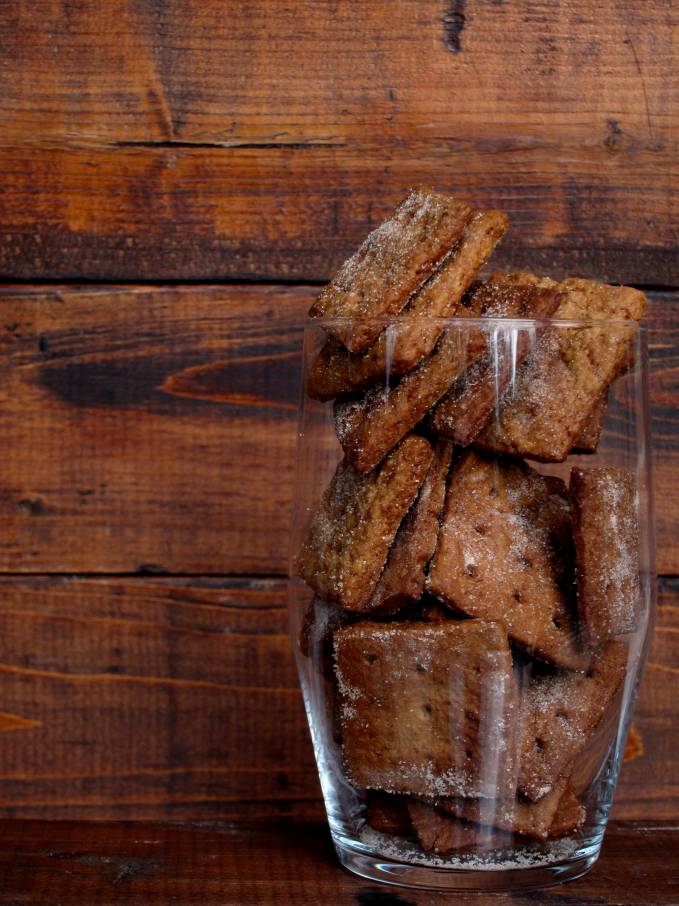
Then, I had a store-bought graham cracker and immediately realized how much better the homemade ones were. I hadn’t had store-bought graham crackers for a few years and so I completely forgot how they tasted. My standards were completely off. The homemade version is so much better! The only thing I would recommend though when making these is that you carefully watch how long you bake them, since a difference of a minute or two can really affect the texture of the cracker.
You also need great marshmallows for a great s’more. Have you ever wondered how they make those “jet-puffed” marshmallows that they sell in the store? Is the name supposed to insinuate that they blow them up like balloons? I don’t have anything against store-bought marshmallows but “jet-puffed” seems a bit off-putting.
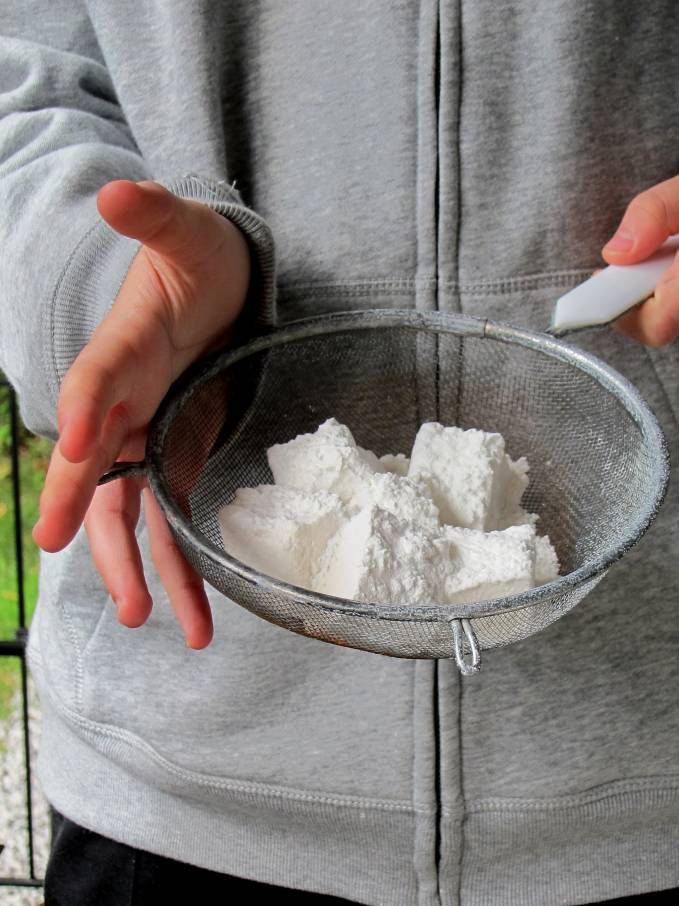
With so many “jet-puffed” marshmallows on grocery store shelves though it makes sense why a lot of people don’t consider making marshmallows themselves. Obviously, they don’t have a jet-puffer. I never considered buying my own jet-puffer to make marshmallows because it sounded awfully expensive. Luckily though, you don’t need a jet-puffer to make your own marshmallows (really!). You pretty much just need sugar, gelatin, and corn syrup to create delicious, homemade marshmallows.
Homemade marshmallows are completely different from their store-bought distant cousins. It’s really not even a matter of taste or flavour, like a lot of other copycat recipes. Homemade marshmallows are completely different from store-bought ones. They’re ridiculously fluffy and soft. My dog was a bit jealous of how soft they are. I considered the possibility that if I touched the marshmallows they would disappear. You know, since they’re so soft. Homemade marshmallows are so much different from store bought ones that they’re not even really a copycat recipe, because they’re so much better.
You seriously need to try making your own marshmallows. You won’t regret it.
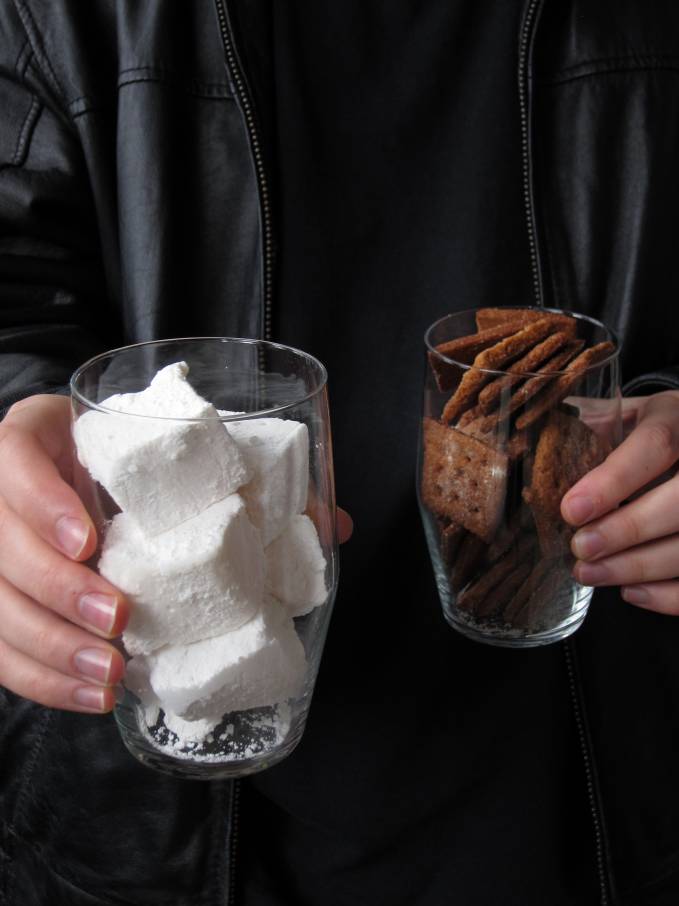
Make your own marshmallows and dazzle your friends. Sandwich them between homemade graham crackers with a piece of chocolate and be amazed how great the flavours jive in homemade s’mores. Bake up a few dozen and everyone will still want “some more”.
- ½ cup icing sugar
- ⅓ cup cornstarch
- 4½ teaspoons powdered gelatin
- ½ cup (125ml) cold water
- ¾ cup sugar
- ½ cup (120ml) light corn syrup, divided
- ¼ cup (62.5ml) water
- ⅛ teaspoon salt
- 2 teaspoons vanilla extract
- 2 tablespoons sugar
- 1½ teaspoons cinnamon
- 1¼ cups plus 1 tablespoon (185g) all-purpose flour
- ½ cup (88g) dark brown sugar, lightly packed
- ½ teaspoon baking soda
- ¼ teaspoon kosher or coarse sea salt
- 3½ tablespoons (50g) unsalted butter, chopped and frozen
- ⅙ cup (57g) honey
- 2½ tablespoons milk
- 1 tablespoon vanilla extract
- Chocolate
- Mix the two ingredients together.
- Lightly coat an 8-by-8-inch baking pan with cooking spray. Whisk together the gelatin and cold water in a small bowl and let soften for 5 minutes. Stir together the sugar, ¼ cup (60ml) of the corn syrup, water, and salt in a medium saucepan over high heat. Boil, stirring occasionally, until the temperature reaches 240°F. Meanwhile, pour remaining ¼ cup (60ml) corn syrup into the bowl of an electric mixer fitted with the whisk attachment. Microwave gelatin on high until completely melted, about 30 seconds. Pour it into the mixer bowl. Set the mixer speed to low and keep it running. When the syrup reaches 240°F, slowly pour it into the mixer bowl. Increase the speed to medium and beat for 5 minutes. Increase to medium-high and beat for 5 more minutes. Beat on the highest setting for 1 to 2 minutes more and beat in the vanilla; the finished marshmallow will be opaque white, fluffy, and tripled in volume. Pour it into the prepared pan, using an offset spatula to smooth it into the corners. Sift coating evenly and generously over top. Let set for at least 6 hours in a cool, dry place. Use a knife to loosen the marshmallow from the edges of the pan. Invert the slab onto a coating-dusted work surface and dust it with more coating. Cut into 4 cm by 4cm squares. Dip the sticky edges of the marshmallows in more coating, patting off the excess.
- Mix the two ingredients together.
- Combine the flour, brown sugar, baking soda, and salt in the bowl of a food processor fitted with the steel blade or in the bowl of an electric mixer fitted with the paddle attachment. Pulse or mix on low to incorporate. Add the butter and pulse on and off on and off, or mix on low, until the mixture is the consistency of a coarse meal. Alternately, if you don't have a food processor or electric mixer, you can cut the ingredients together with a pastry blender. Just make sure they're very well incorporated. In a small bowl, whisk together the honey, milk, and vanilla extract. Add to the flour mixture and pulse on and off a few times or mix on low until the dough barely comes together. It will be very soft and sticky. Lay out a large piece of plastic wrap and dust it lightly with flour, then turn the dough out onto it and pat it into a rectangle about 1-inch thick. Wrap it, then chill it until firm, about 2 hours or overnight. Divide the dough in half and return one half to the refrigerator. Sift an even layer of flour onto the work surface and roll the dough into a long rectangle about ⅛ inch thick. The dough will be sticky, so flour as necessary. Cut into 4cm by 4cm squares. Place the crackers on one or two parchment-lined baking sheets and sprinkle with the topping. Chill until firm, about 30 to 45 minutes in the fridge or 15 to 20 minutes in the freezer. Repeat with the second batch of dough. Finally, gather any scraps together into a ball, chill until firm, and re-roll. Adjust the oven rack to the upper and lower positions and preheat the oven to 350°F. Using a toothpick or skewer, prick the dough to form three dotted rows (9 dots). Bake for 15 minutes, until browned and slightly firm to the touch, rotating the sheets halfway through to ensure even baking. Be careful to not over bake.
- Sandwich a piece of chocolate and a marshmallow between two graham crackers. You can either place into the oven for a few minutes for the marshmallow to melt or you can eat as is. Alternatively, cook s'mores, wrapped in tinfoil, over a campfire.
Looks awfully awesome! I’ve never had a homemade marshmallow, but now I really want to make some! I was never a big fan of graham crackers but yours look really delicious! All sugary and intense. Smores…
I hate this time of year too!
And omg those s’mores!!!! I love s’mores and these homemade ones look super gourmet and beautiful and DELICIOUS!
I’ve always wanted to try homemade s’mores. Oh, and I’m with you on the seasons thing- summer and fall are great but it’s the inbetween that seems to last forever! :(
You have elevated these to a new level of awesomeness. Gorgeous!
S’mores are pretty awesome, and you have made them even better! Homemade marshmallows and graham crackers cannot be beaten. Gorgeous photos, too!!!! The crackers in the glass is killing me. I might need a print of it! :)
We don’t have graham crackers in Australia, but apparently it’s similar to digestive biscuits? I am really curious about smore (which is another Amercian thing), and I saw this amazing brownies version of the smore that I want to try out. Maybe I will try making these graham crackers first. Thanks for sharing.
I’m not a big fan of marshmallows, but I’ve never had a homemade one. I bet they are delicious. They look so fluffy and light! You’re recipes look great!
I have storebought graham crackers at home. I noticed how there’s too many of them, so when I open a bag, eventually they start losing their taste and get all soft and kinda meh.
This is a really nice alternative to that leftover-cracker problem :)
These look so much better than store-bought ones. I love anything with cinnamon…..and chocolate too! :)
These do look really, really good. Unfortunately, we can’t buy Graham crackers here in Oz so this is not something I can re-create but I know if I did, they would be a huge favourite with everyone in my family xx
WOW. Just wow. Those huge marshmallows – BEAUTIFUL! I love the idea of a 100% homemade s’more. They must taste TOP NOTCH compared to a regular smore – and I didn’t think those could get any better! Gorgeous pictures :)
It’s so nice to meet you Ilan. Your photos are seriously good. I have never even thought to make homemade marshmallows but that first photo of one sandwiched b/w graham crackers is so gorgeous. Good luck with your senior year. My daughter is having a fabulous time in her first year of university!
oh my gosh, i love this!! i love smores but have yet to make the whole thing from scratch – i most definitely need to do that!
Stunning. WOW. I’d like a dozen of these please. Do you deliver?
Holy Cow! Now THAT is a marshmallow!! These homemade s’mores look incredible! :)
What a nice treat. And really, homemade anything is way better than the packaged stuffs. ;)
Now these are s’mores. Wow. These pictures make me long for a campfire and a cozy sweater. Thank you for sharing such delicious treats!
That’s my kind of s’more. Super-marshmallowed. And homemade marshmallows really are SO different, in the best way. I love them. And I love this post.
These look amazing! I just made my own vanilla bean marshmallows the other day, and you really can’t compare them to store bought! I am yet to make my own graham crackers…
Wow. I don’t know if I have the patience to make these but I’d be thrilled to have them made for me.