This is meant as a tutorial for beginners who do not have a heat lamp or other pulled sugar equipment. Results will improve if these instructions are followed in a professional kitchen with better equipment.
Today, as I was walking home from school, I saw a rose. It was a nice rose, so I picked it up. It was sticky. I walked home with my rose while other people stared at me. They didn’t understand the relationship that I had with my rose. My rose was special.
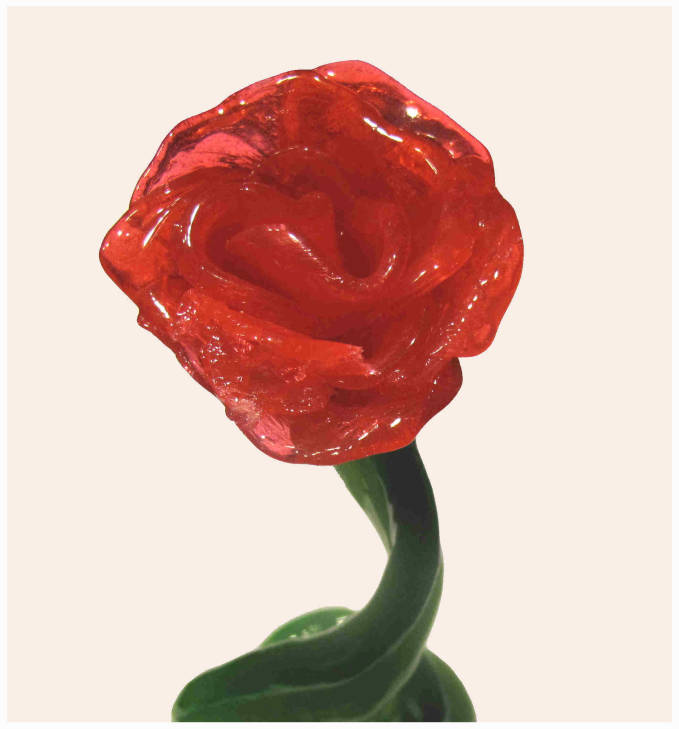
Once I got home I put my rose in a vase of water and sat there staring. It melted. Good things don’t last for long.
It turns out, believe or not, my rose was made entirely from sugar.
Pulled sugar is sugar that is melted, dyed, cooled, and then formed into shapes. It is used for decoration or making food bloggers happy.
The first step of making pulled sugar is combining 50ml of water with 1/2 cup + 1/8 c white sugar and boiling this mixture on high heat until a sugar syrup is formed. Then, add 1/2 teaspoons of lemon juice and a few drops of a food colouring of your choice when the syrup boils. This will change its colour and thickness.
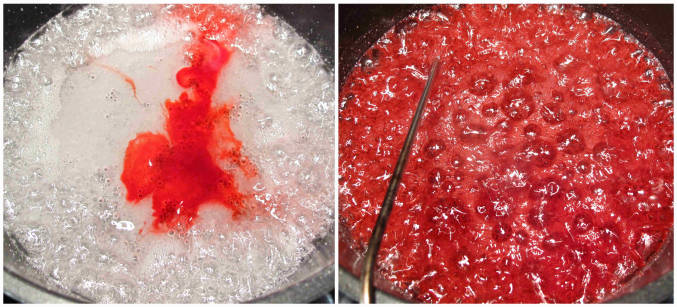
You then want to cook the syrup until it reaches 298°F (you want to be very close to this temperature, so you have to use a thermometer – I just used a digital one that I bought at the dollar store) and pour it onto a sheet of parchment paper that is taped down to a heat-safe surface. You could also pour the sugar syrup into moulds to make lollipops.
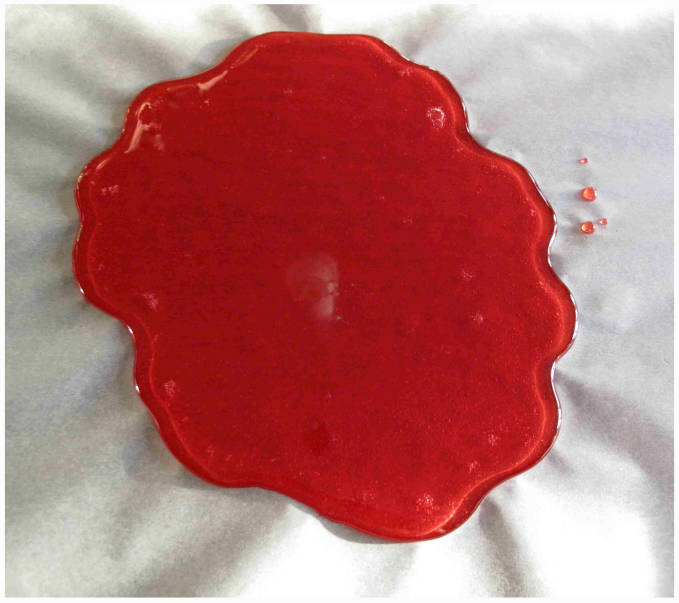
Let the sugar cool for about two minutes and then using a spatula stir the sides of the puddle of sugar inward. You can then use your hands to create a chunk of sugar. Next, begin pulling the sugar apart and folding it together. Repeat this about twenty times so that the sugar becomes opaque and has a nicer texture. If your sugar gets hard, place it on a piece of parchment paper and on a plate and then put it in the microwave for a few seconds.
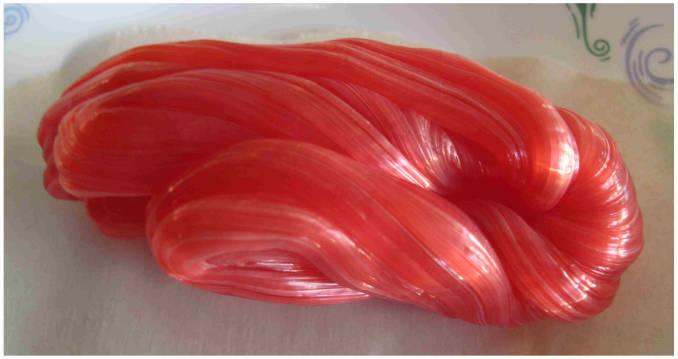
You then want to pull off a small piece and form it into a square and roll the corners of the square of sugar together to make a small cone for the center of your rose.
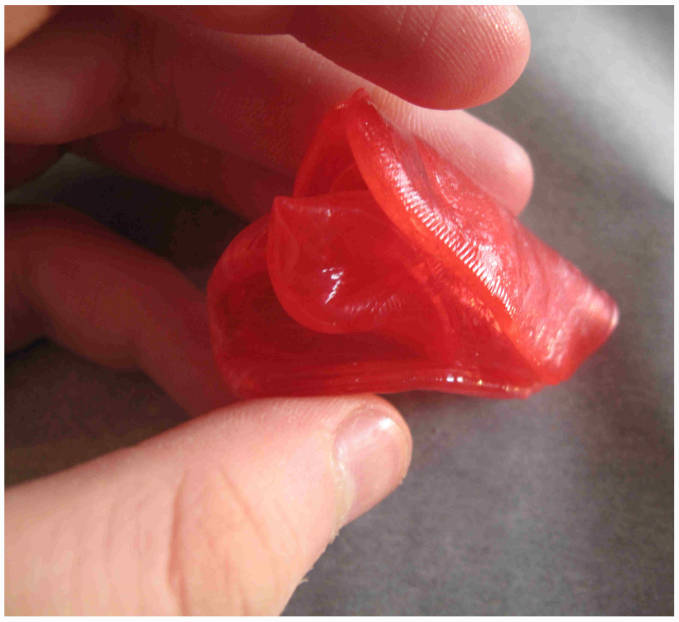
Pull off and flatten pieces of sugar into petals.
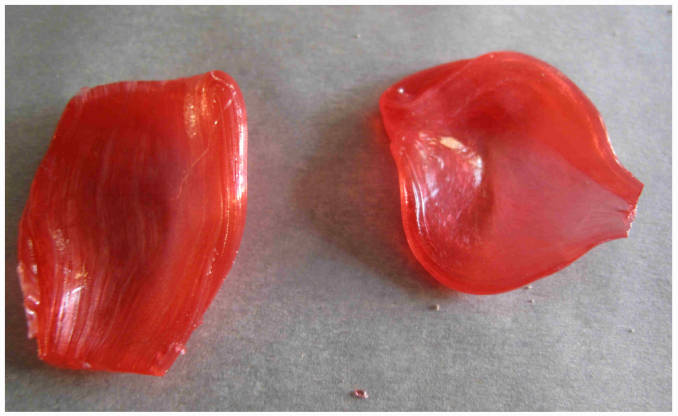
Then, by attaching the petals to the center of the rose (the cone), you’re able to expand the size of the rose. Warm up the petals for a few seconds in the microwave if they’re brittle. If your sugar snaps, then reheat it in the microwave as well.
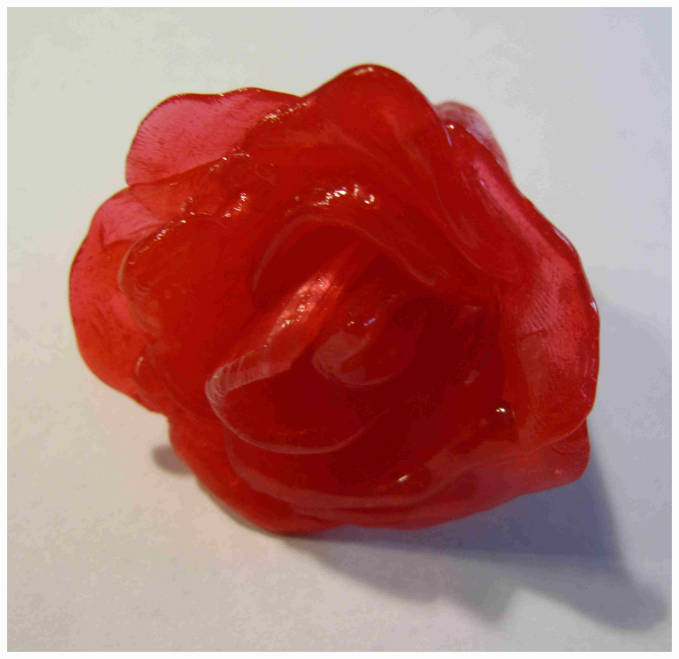
If you’re wondering about how I made the stem, I just dyed the sugar two shades of green and intertwined the sugar on an oiled skewer. To attach the rose to the stem you can use a lighter or kitchen-torch to melt the bottom of the rose and the top of the stem, and then stick them together.
Do not be surprised if your sculpture starts melting! Mine melted pretty quickly, but it’s still fun to try out… as long as you’re careful not to burn yourself. Plus, it tastes like a giant lollipop! You can also use this technique to make ribbons (by wrapping the sugar around a stick) or anything else you can think of!
Liked this tutorial? Read another one!
will try n make this rose for my practical…………..
I’m gonna try it
what did you mean by 1/8 c does the c mean cup
Yes!
Hai, could you make blown sugar with this?thx